
This is the fourth in a series of posts based on the weekly handouts I give my comics class – if you’re just happening upon it now, there is a tab in the left-column menu, “comics class”, that has all of my posts in this category.
Inking Your Comic — materials and tools
One of the beauties of making comics is that all you really need is something as simple as a piece of paper and a pencil or pen — you could even use a piece of charcoal to write on a cave wall and tell a story! But if you want to get a bit fancier, certain materials have become standard in the world of comics art, and you may want to try some or all of these. Today’s post about inking; I’ll make separate posts over the next few days about writing, paper and colouring materials.
Inking is used for comics because pencil drawings originally did not reproduce well, and the look of ink has become traditional for comics, though it is no longer required, technically. In the comics “industry”, inkers are often specialty artists, who develop and enhance everything from a rough pencil sketch to a very detailed pencil drawing that has been done by another artist. After the inking is done (and dry), the residual pencil lines are erased, leaving a clean black and white drawing. Those of us who ink our own work have an advantage of knowing exactly what we intend — sometimes professional inkers have to guess!
Pen and Ink
- The good old-fashioned dip pen, and India Ink. While a bit tricky to learn, with some practice it pays off in beautiful, expressive line work. You can also use coloured inks. Make sure you get permanent ink, that will not fade, and if you plan to use it with watercolour, make sure that it it a waterproof kind (and test it before applying watercolour!). Different nibs will give different line qualities; experiment to find your favourites. “Crow quill” and “hawk quill” are popular choices for comics; you can also choose lettering and calligraphy nibs.
Here’s a page from “Tam Lin” (you can read the whole comic under Comics/Telling Tales in the top menu). It was done entirely with dip pens, mostly my favourite, a Hunt 108 nib, with a 107 and 102 for finer lines. I’ve left the comic panel borders on so you can see how it fits on one of the Fanboy Comic Board pages. Um… smudges and all.

Tam Lin — Janet assures Tam Lin that she will meet him at the Fairy Ride and rescue him, and is as good as her word.
- Technical Pens — excellent for a clean, predictable line. They come in different tip sizes, and are very precise, so if precision is your game, these are your pens. They are also, in my experience, a bit of a pain as far as upkeep goes, as they need cleaning and maintenance to keep them flowing properly (I said bad words to mine a lot). They’re not cheap, so if you have them, you have good incentive to take care of them. If you’re interested in finding out more about these, here’s an excellent overview from a site called Cult Pens (which I just discovered — have to go do some more exploring there!), with a few more links to follow up there.
Here’s a video from the Blick art supply company that tells a bit about the Rapidograph pens, one of the most popular brands (in fact, it’s name is often used to refer to technical pens in general, kind of like “kleenex” for tissues). It’s a bit of a commercial — in fact it’s almost got me thinking I’d like to try the darn things again! — but informative enough that I want to include it here.
- “Disposable” technical pens — a pen with a hard, felt-like tip that comes in precise sizes like technical pens. The main drawback of these is, of course, the fact that they are disposable, but otherwise, I love them. They are a bit more flexible than true technical pens, so you can get some variability in the line (note: when they get old, they can get a lot less precise). They usually come with pigmented, permanent ink that is waterproof almost as soon as it hits the paper, and generally come in colours as well as black. Two of the most popular kinds for comic artists are Pitt and Pigma Micron, the latter being my personal favourite. They are similar, but I prefer the Pigma Microns, as I find the Pitt tips a bit squishy for my taste and not as precise. I just read a couple of reviews on Kate Leonard’s Illustration blog on the pens she uses: The Staedtler Fine Liner and the Unipin. Check them out — there are pictures of her lovely pen and ink work, too.
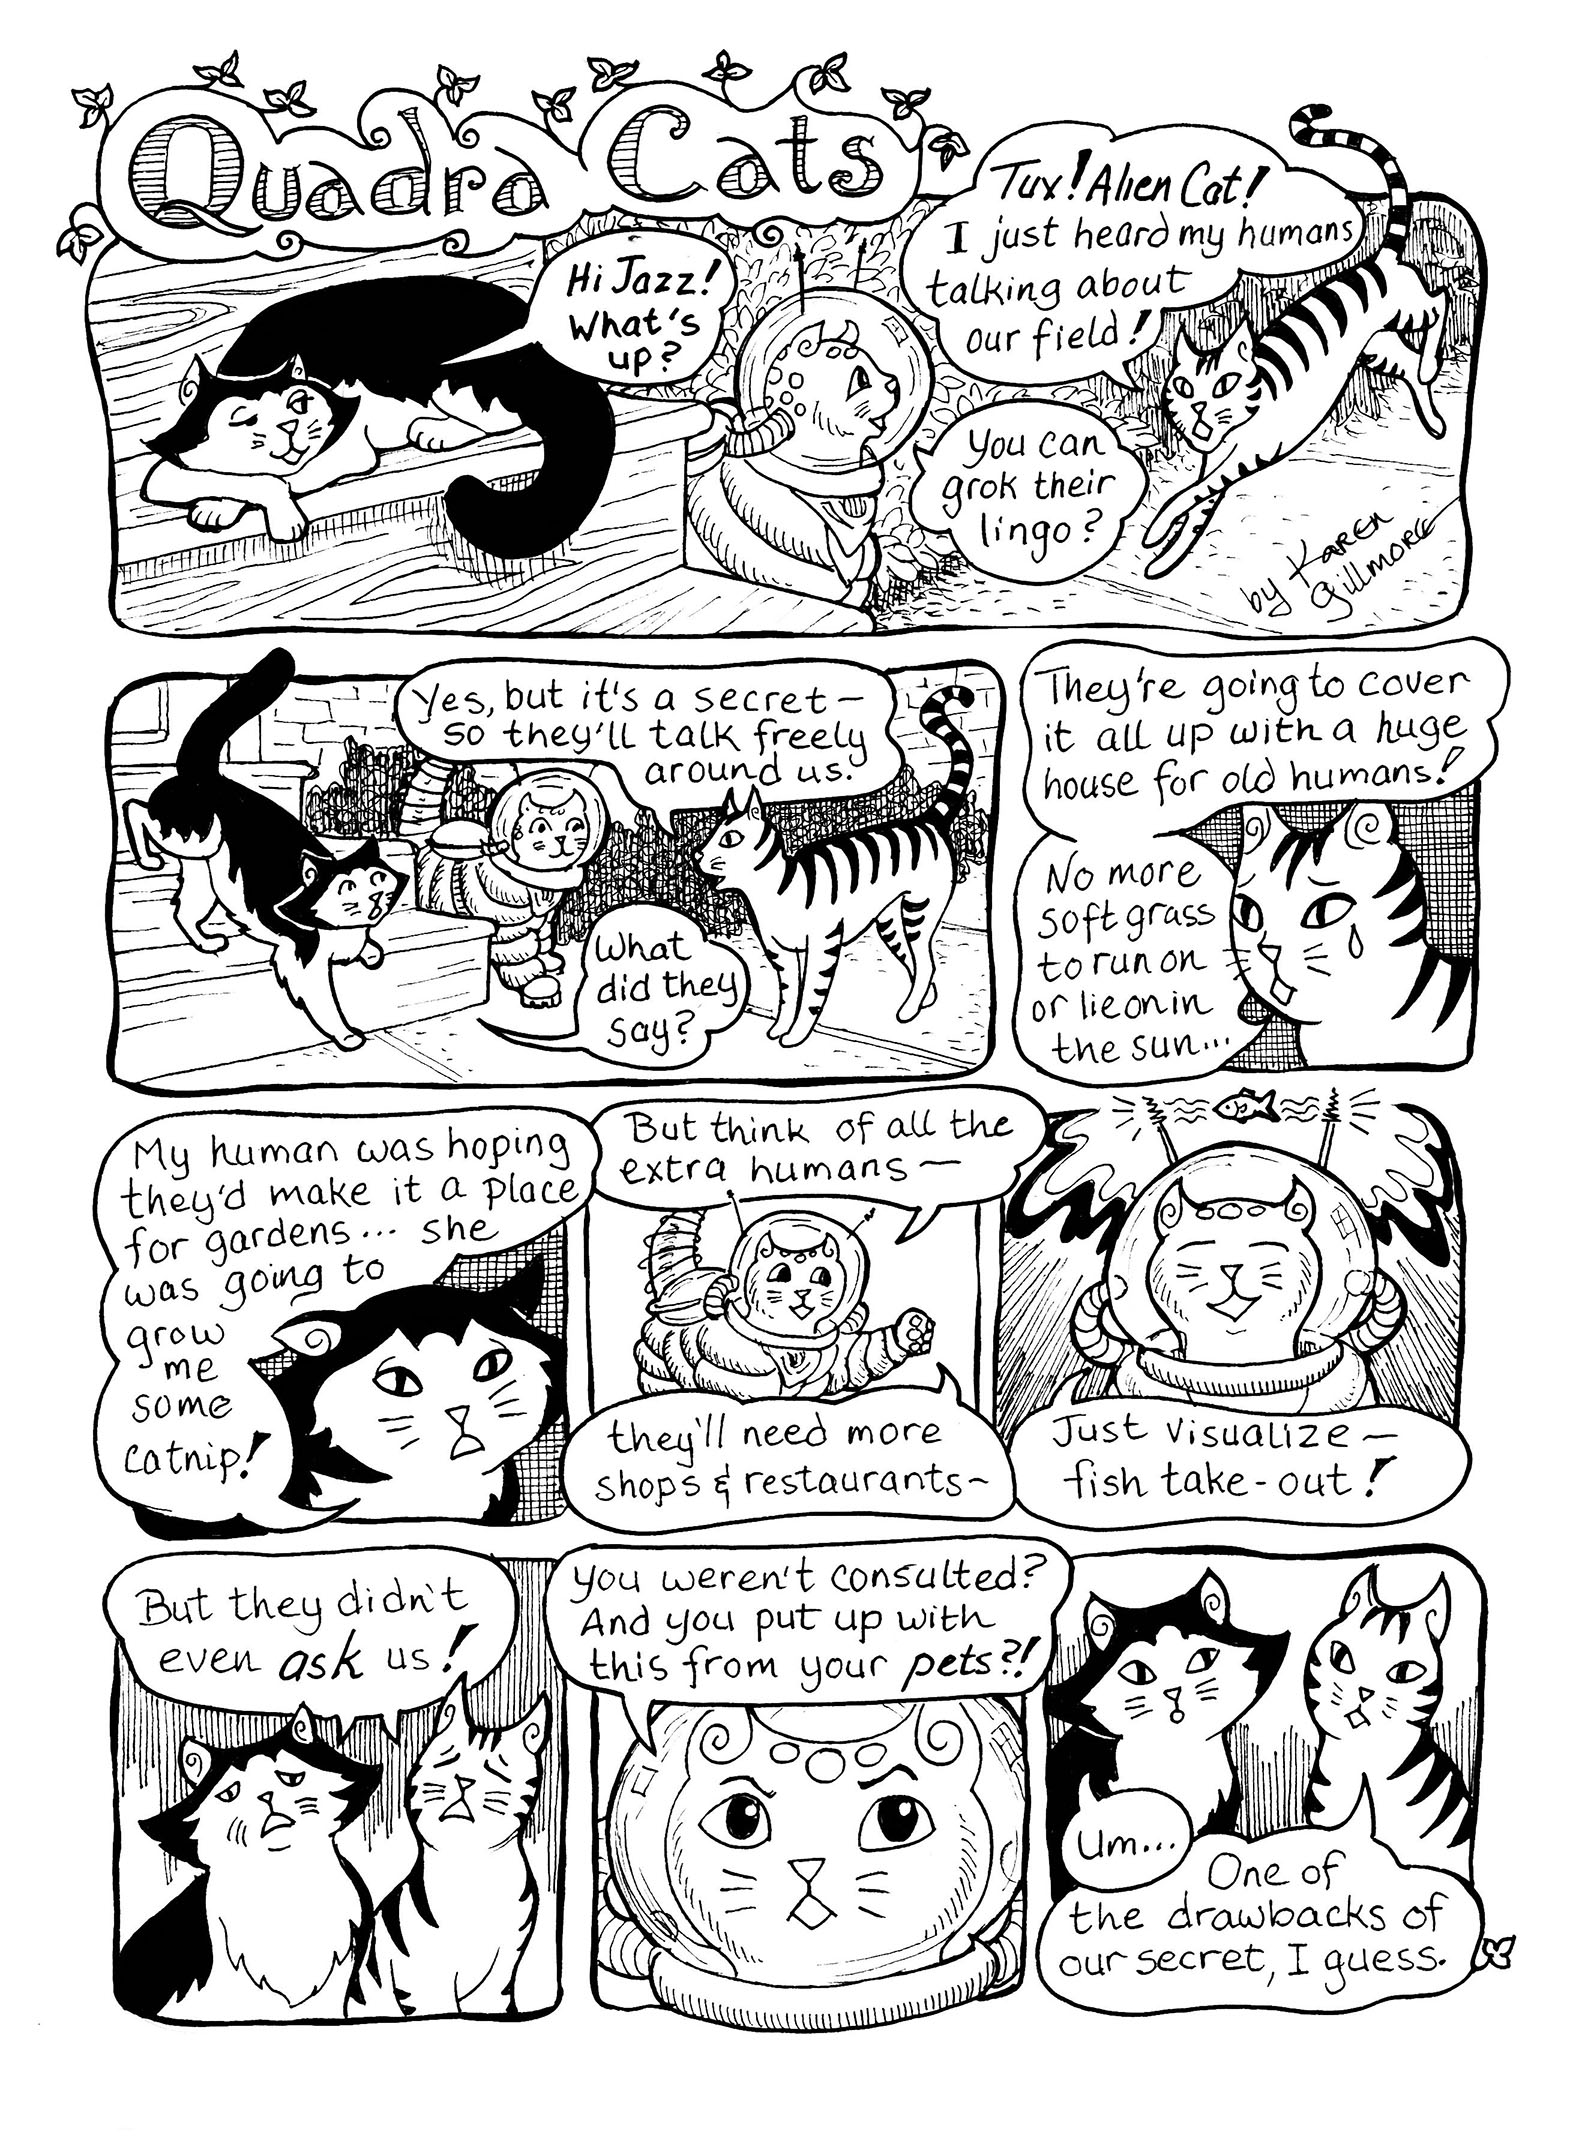
Here’s the latest instalment of the Quadra Cats series that I do for the neighbourhood paper. I used my Pigma Micron pens in three sizes: .05, .02, and .005 for different weights of lines. The panel borders and the heavy blacks were done with my Pentel brush pen (see below).
My first “political” cartoon, commenting on a neighbourhood development situation. Since it gets printed in a newspaper, I had to keep the shading strictly in black and white, so it’s all done with lines or cross-hatching of one sort or another.
- Calligraphy Pens — these can be dip, felt-tip, or fountain, and can create beautiful lines and lettering. Again, make sure your ink is permanent. I’ve put a video at the bottom of this post that is a demonstration of using a calligraphy pen for drawing.
- Other Pens — ball points, roller tips, wedge tips — if you like the line it gives, use it. Remember that some inks are not permanent and may fade or be affected by water, so test them before you add watermedia to them.
Brush and Ink
- Many artists use brushes instead of pen to do their inking. A good natural-hair, round watercolour brush, such as the series-7 kolinsky sable brushes made by Winsor-Newton, are a joy to use, though fairly expensive. However, if well taken care of, they will last for many years and are an excellent investment. There are some good synthetic-hair brushes on the market, but for inking lines, are not as responsive. They are still worth a try, though; make sure you get one that comes to a good point.
Here’s a few panels from my very first multi-page comic, using the series-7 brush, and we’re not talking expert brush use here, as it was the first time I had used this brush! But still, I like the quality of it, and it was lots of fun. I used my Pigma Microns for the fine detail and crosshatching.
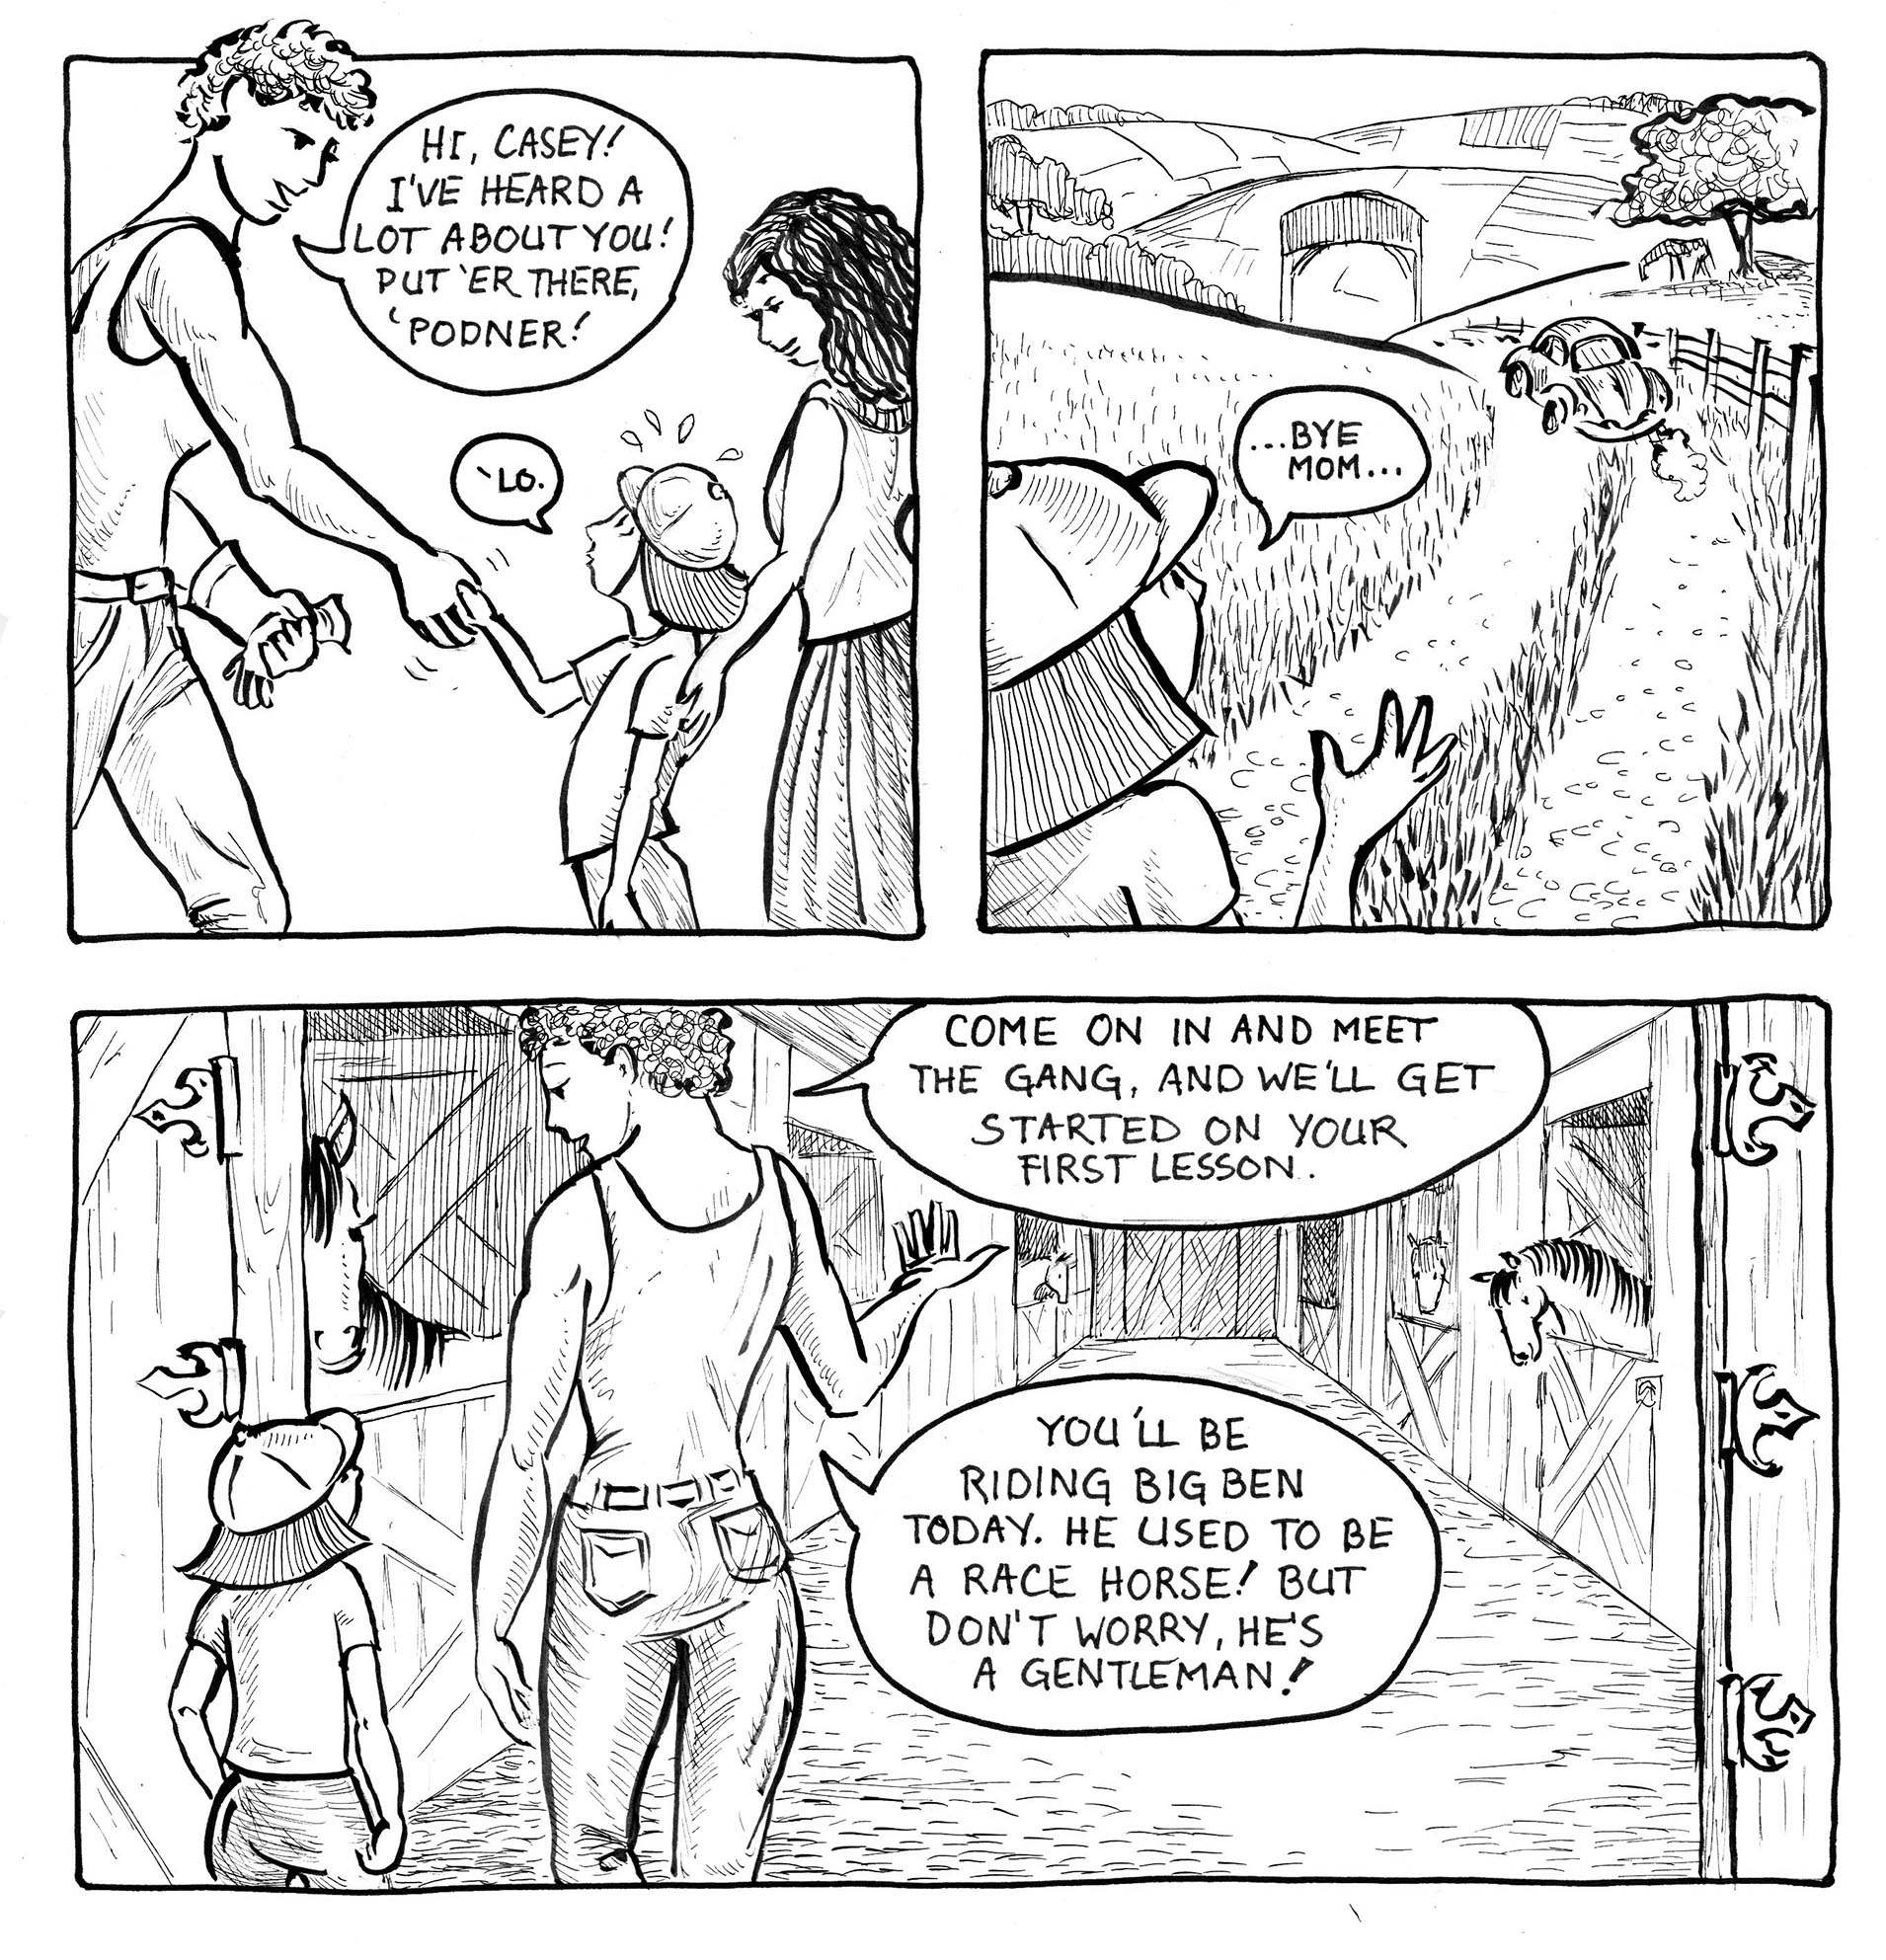
From Horse Sense, also in the Telling Tales collection under “comics” in the top menu.
- A convenient alternative to a traditional brush and ink bottle is the brush pen. It is constructed like a fountain pen only with a brush tip instead of a nib, and refillable with the same kind of cartridges. The one I use is by Pentel, costs about $20, and in my opinion, worth every penny. Tip: take the ink cartridge out before going on a plane!
- Another alternative is a variation of the Pitt and Pigma Micron markers I mentioned above — instead of the “technical pen” tips, they have a soft, brush-shaped tip which acts like something between a pen and a brush. Great for carrying around for sketching, I’ve inked entire stories with one, including “Cougar Annie”:
Here’s just the ink, followed by the finished page; the thin ink lines are from using the marker brush very lightly. I think the marker brush lines (which for me are easier to control than a traditional brush) complement the watercolour well.
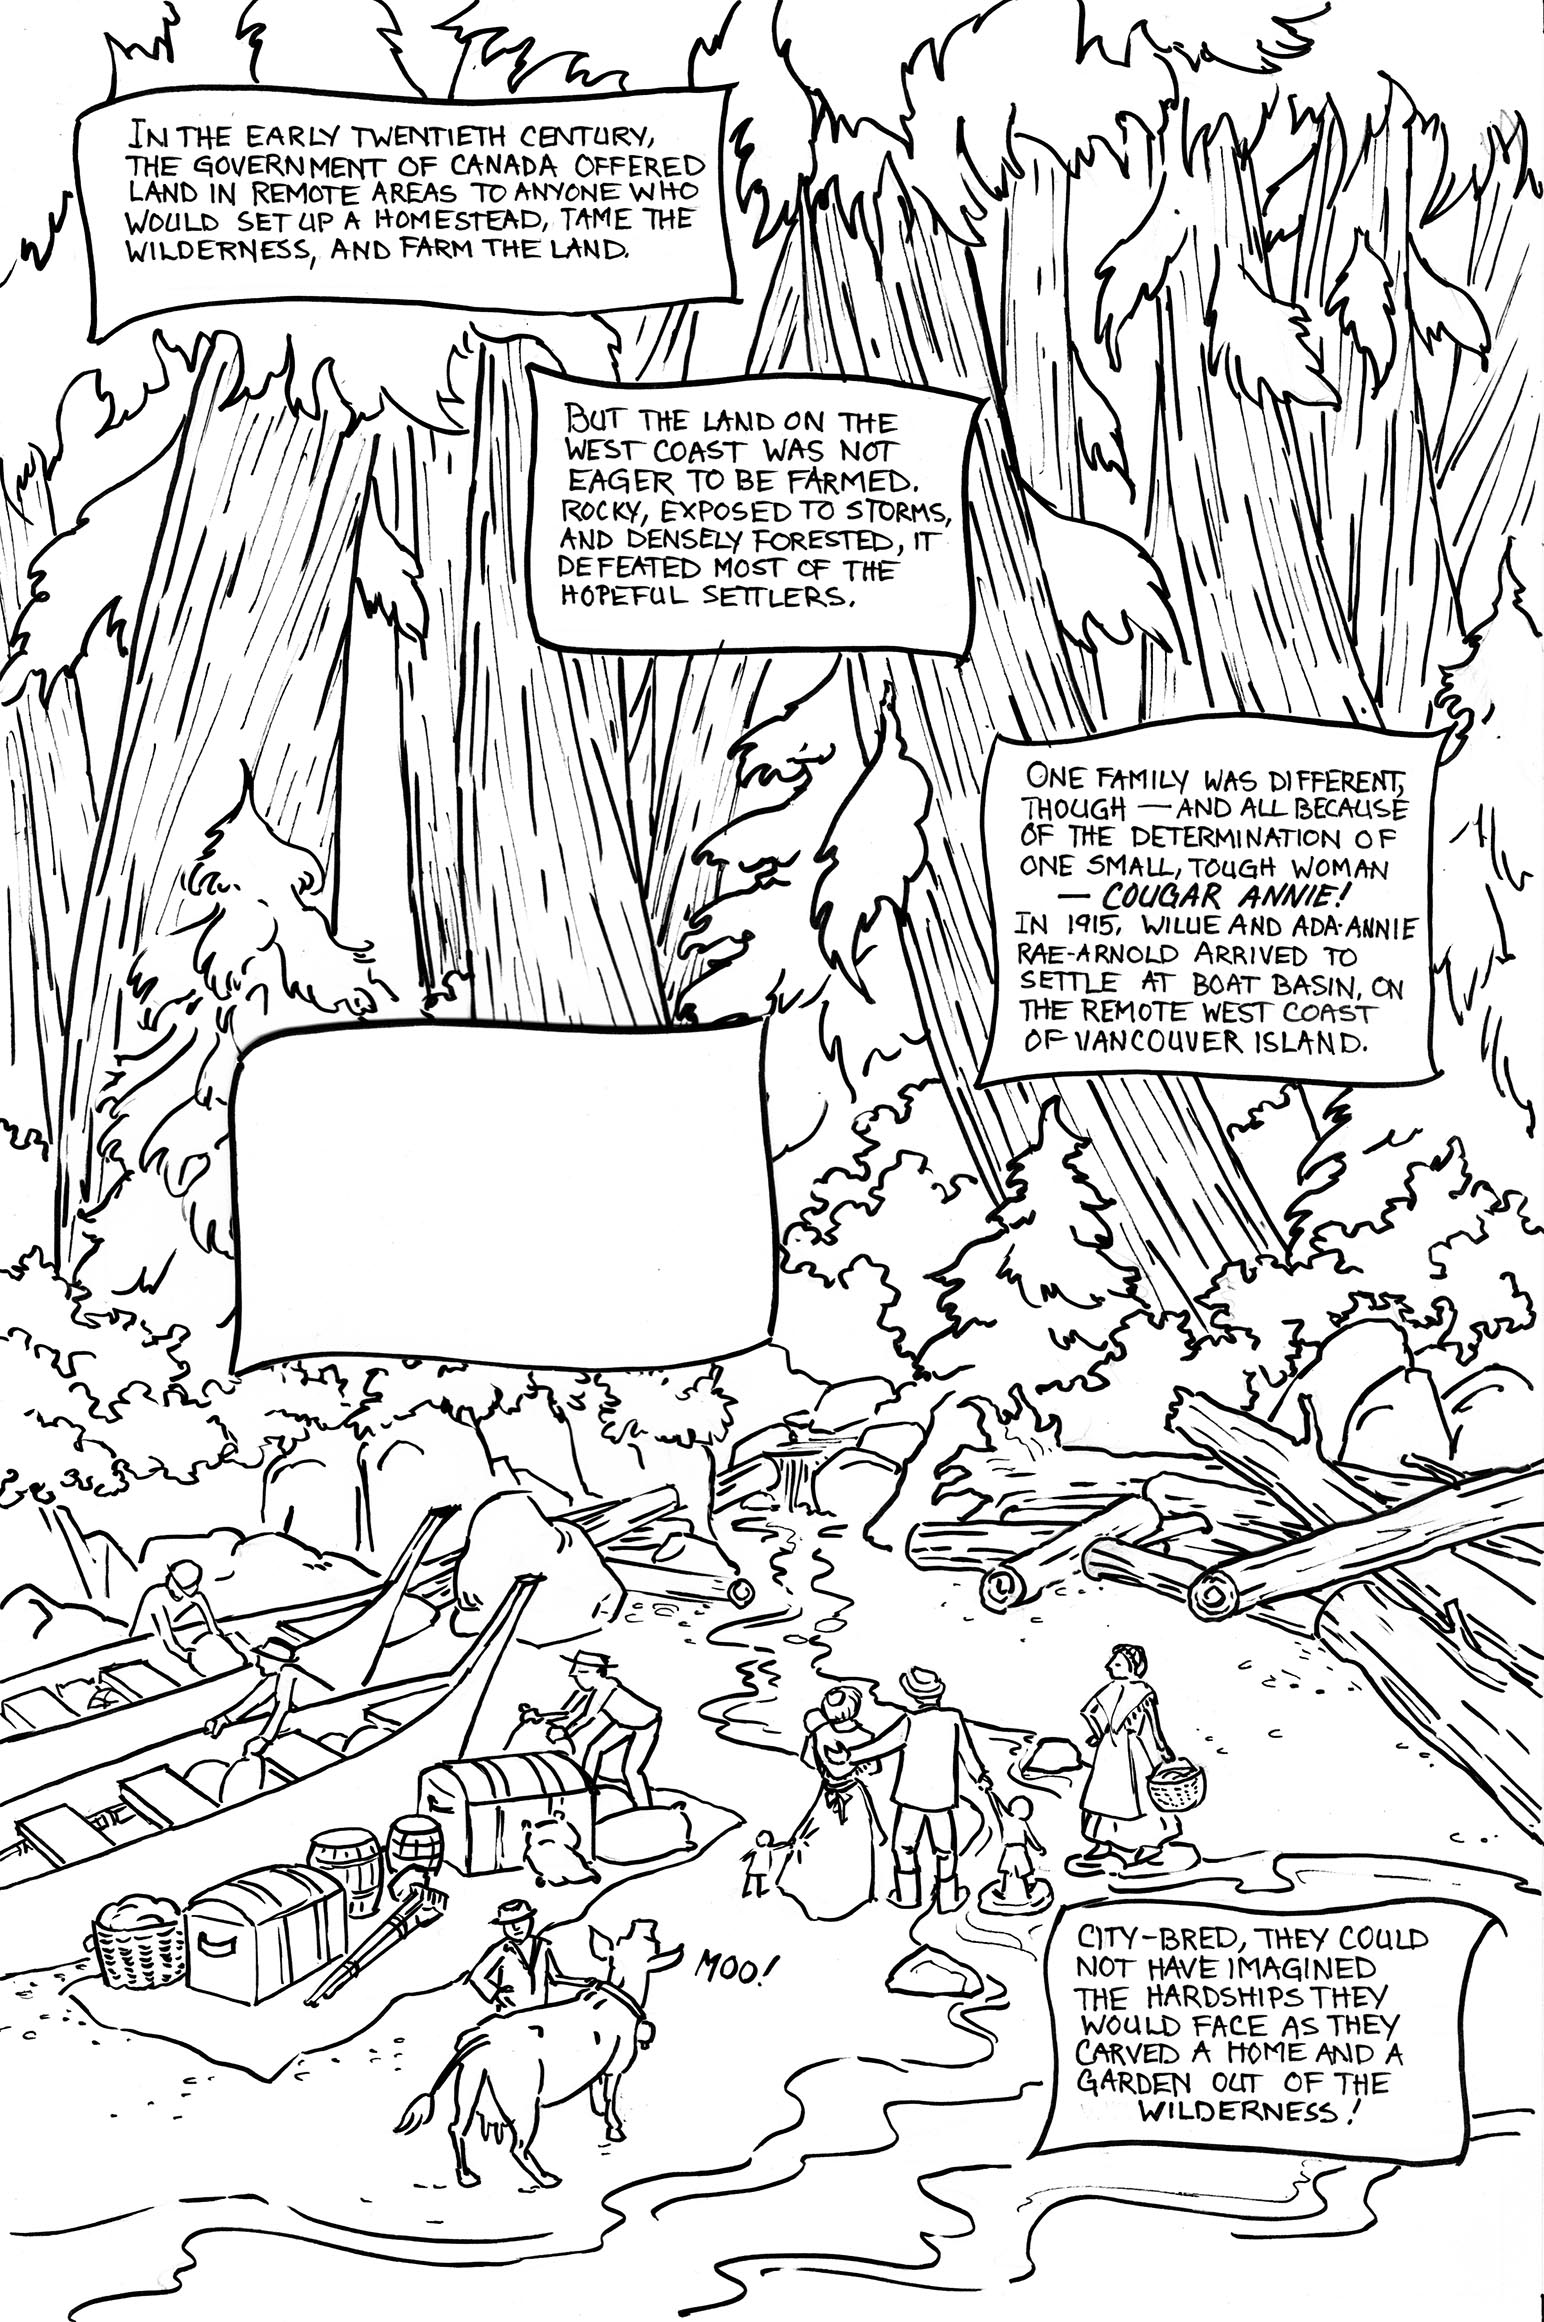
I kept the ink very simple, as I knew I was going to be putting in a lot of detail with the watercolours.
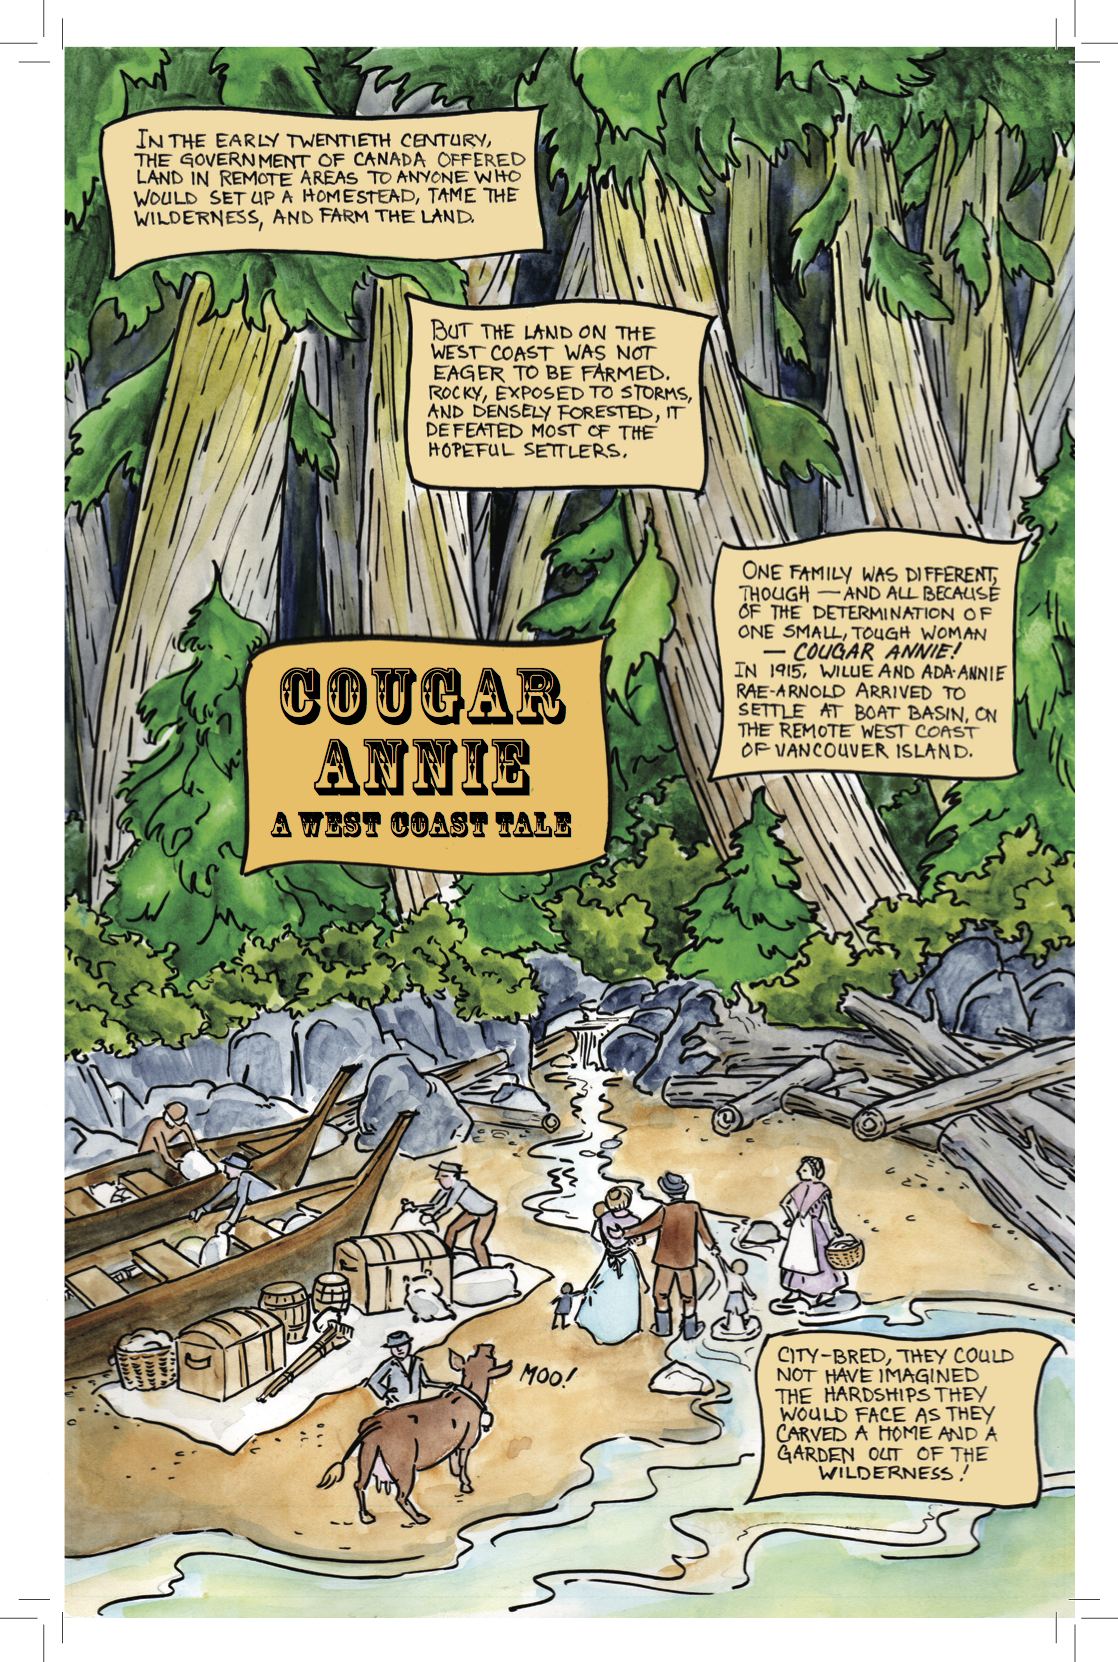
The finished page. The lettering and background colour for the title box were put in with Photoshop and InDesign.
- Ink Wash — ink can be used for more than just lines; by diluting it, you can paint tones. Build them up gradually from a very diluted pool of ink in water, or keep an array of little dishes with different concentrations. You can also do this with a wet brush, if your ink lines are in a water-soluble ink. Here’s a couple of panels from “Mak”:
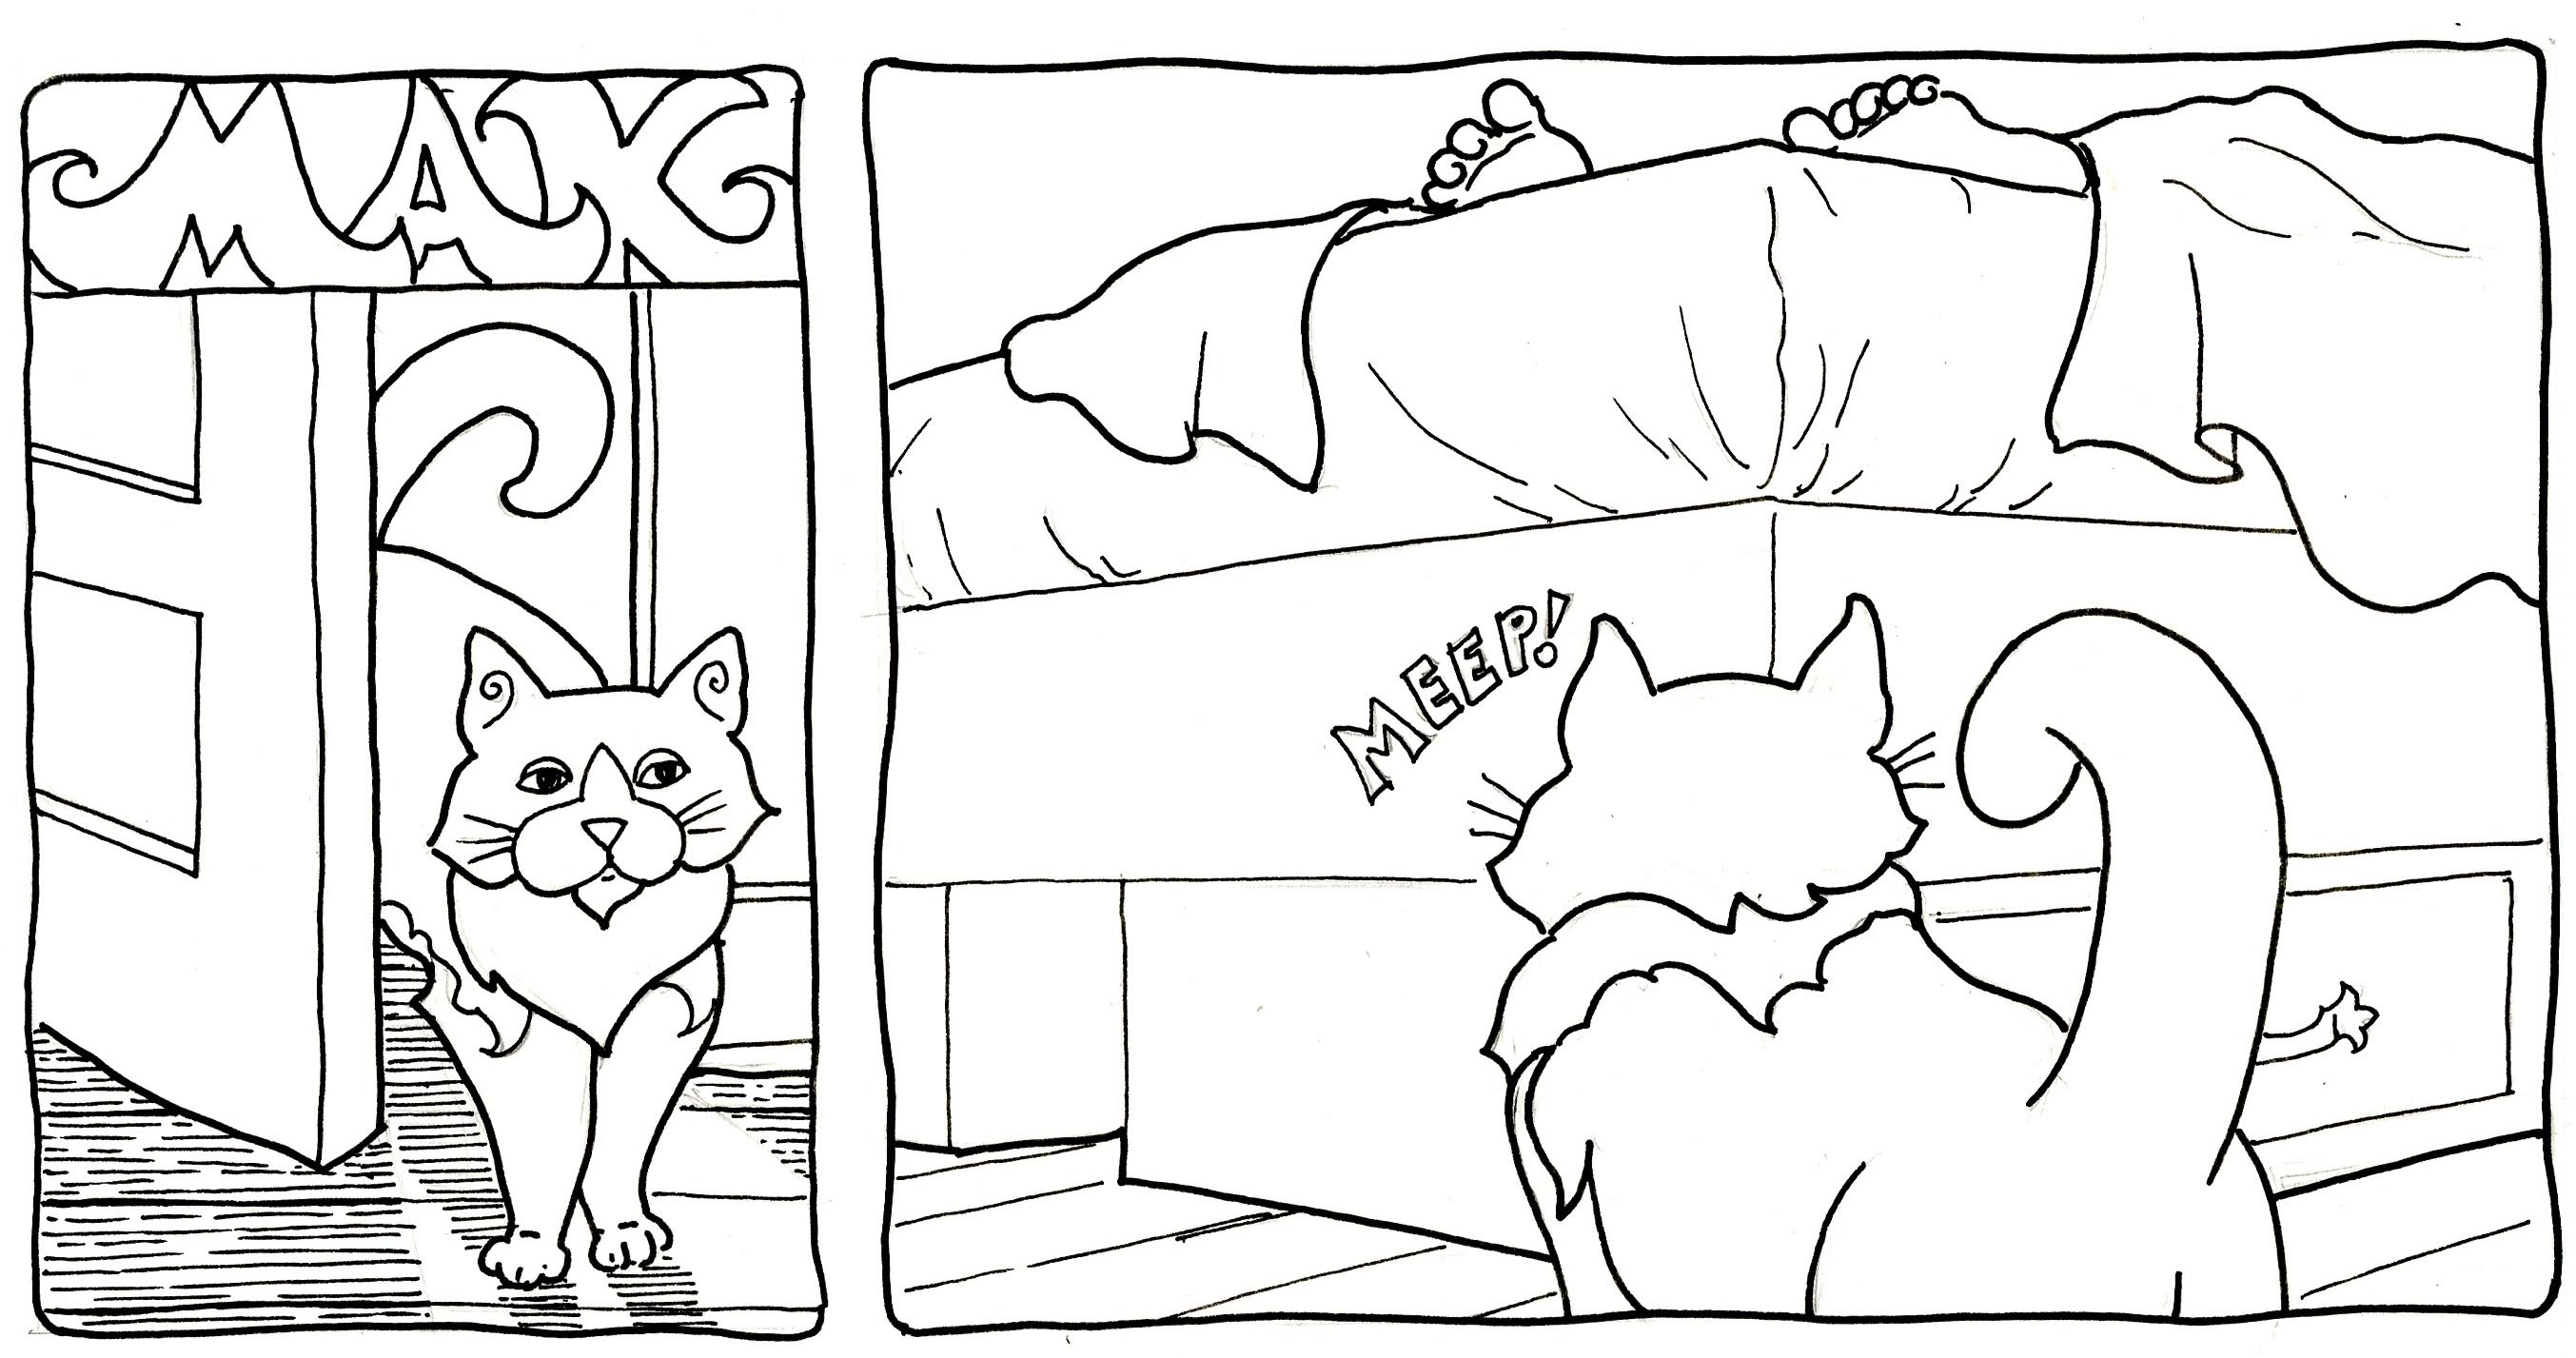
Here’s the original line drawing. It’s the first two panels of page 1. This was done with Pigma Micron pens on comic art board.

Here’s the original finished version of the comic, done traditionally with ink wash on top of the line drawing shown above. This is a time-consuming process, with many layers of very diluted India ink built up gradually. I very much like the results of this technique, and it can be used as a basis for colouring with watercolour, as the ink will not lift after it dries, or digitally, in which case it provides values and texture when coloured with flat colours.
Here’s a video I found of some of the techniques I was showing in class, but done a bit differently. The dip pen the artist is using is a calligraphy pen (I think I’m going to have to get one of those nibs!), and the ink he is using is evidently water-soluble, like one of the wedge pens I used to demo this wash technique.
Since our class handout was a very long one this week, I’ll continue over the weekend with posts expanding on the writing, paper and colouring sections, so please check back!
Some links for more reading:
Inking Comic Tutorial from Creative Comic Art — some book recommendations here that look intriguing!
A helpful glossary of inking terms by Gary Martin. Who’s he? Well, he wrote this book.
An article showing the same drawing inked by different people. If you click on the pictures they enlarge nicely.
Pinterest: I started using Pinterest so that I could collect reference in one place (and not have gigantic filing cabinets), and it’s a great way to share the collection, too.
With sharing in mind, I’ve started a “cartooning and animation resources” Pinterest board — if you’re on Pinterest (it’s free to sign up, and you don’t have to start boards of your own), you may find things of interest here. I’ve also got a “comics, graphic novels, webcomics” board that has a lot of different styles of comics to look at, and a “comics culture” board. I also collect reference for costume, scenery & architecture, animals, and lots of other stuff, so feel free to browse any of my pinterest boards for drawing inspiration!

Pingback: Paper for Comics | Karen Gillmore Art·
Thhis is a great blog
LikeLike
Thank you, Sasha!
LikeLike