
It’s Christmas Eve! One of the delightful array of holidays this time of year. Whether you celebrate Solstice, or Christmas, or Kwanza, Hanukkah, Galaxy Day, or one I don’t know about, I wish you a good one. It’s been a year of trials for all of us, and I’m wishing our world, just as hard as I can, a much better New Year, with brighter times ahead.
In this quieter than usual end-of-the-year time, if you find yourself with time on your hands (and you’ve already finished colouring the Galaxy Day Page), here’s a wreath that should keep you busy colouring for a while! Download and print it (for personal use only), make several pages if the kids or the cats want to colour too, and you’ll have hours of meditative, peaceful activity!

This drawing was done in Procreate on my iPad, and I “cheated” — I used a photograph as a guide. Here’s how I did it, and if you have a drawing app, or even some tracing paper, you can do it too! Really, think of it not as cheating, but manipulating a photograph — and since it was my own photo, it’s still entirely my art.
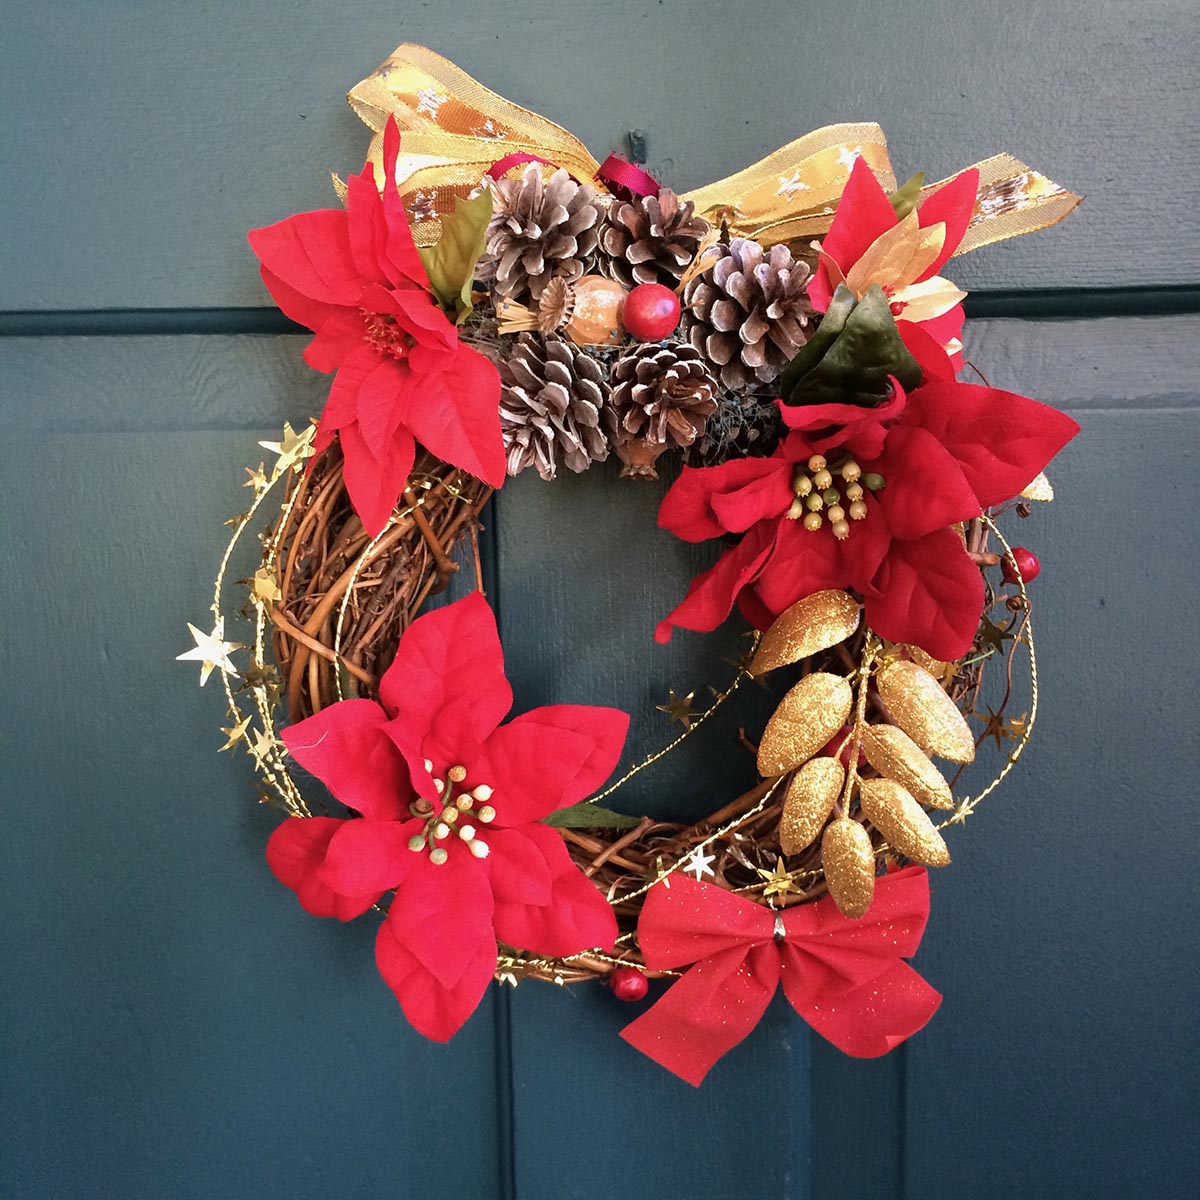
Once upon a time, back in the 90s, I got into making wreaths for craft fairs. It really ended up being just a kind of break-even hobby because I quickly found out that people were saving them from year to year, and after the first season or two of selling them, everyone seemed to have them already. This is one I saved for myself because I liked it, and sure enough, it is durable as all get-out! Sometimes I tuck some greenery from the cedar hedges in it, but this year we had the hedges trimmed, and I had enough huge branches to put bunches in all the pots all over the porch, so I figured any more would be overkill (and besides I was feeling lazy).
One evening soon after decorating the porch, I was sitting around feeling a mildly creative itch but not enough to actually go up to my studio and draw something — but right next to me was my iPad, that wonderful complete-studio-in-a-device, on which I do all the Quadra Cats comics. I’ve become sort of an artist couch potato, because I sit on our couch with my feet propped up for probably the majority of my art time these days. And yes, some of it is in my jammies. While having milk and cookies. In fact, I think I want some now.
Anyway… I pulled up that photo of the wreath, started doodling, and this is what I eventually came up with. I left elements of the photo poking through, while colouring over the background and places where the original photo colour was too busy. This was not a fast process; I nibbled away at it for many days before I was satisfied. It made a nice break-time project, though, kind of like having a big puzzle to assemble, all laid out on a handy card table. With the advantage that the cats couldn’t knock this awry. Want to try it? Read on!

To make your own in a digital drawing app: I’m assuming you are familiar with your drawing app’s capabilities, and that it allows you to add layers. Set up a new document (this one was 2048 pixels square, which allowed me to have enough resolution in case I want to print it at card size). Then add a layer with an imported photo (Procreate automatically makes the photo a new layer). A photo with good contrast works best. Fade the photo layer’s opacity a bit so that you can see the “ink” lines you will be making (this has the same effect as using tracing paper — it also helps sort out what might be distracting details. Then add a new layer and start drawing, with the photo as a guide. Don’t put in every detail; the goal is to create a clean outline of the major shapes. If there are some deep shadows, you can black those in. When you are done, hide the photo layer, and save the ink layer as a copy, to print and colour by hand. If you then want to continue making a coloured digital version for a kind of a comic-book effect, create another layer between the photo and the ink (the ink layer should be on top), and match or change colours and shading at will.
If you want to do this in traditional media, it’s kind of like making those tracing paper maps we all had to do in geography class (do they still do that?). Print out your photo on thin paper (cheap printer paper will do it), get some tracing paper, and tape the tracing paper over the printed photo. Then tape the two layers to a window (or use a lightbox if you have one), and start tracing outlines in ink, as above. Then un-tape the tracing from the photo, put some white paper behind it, and make photocopies (or scan and print them). Use heavier printer paper and it will withstand the colouring media better than the thin stuff. Now hand them out to all your friends and have a colouring fest!
I hope you enjoy the colouring page, and perhaps get some inspiration to try turning some of your own photos into art — I know I’ll be trying this technique more often!
