
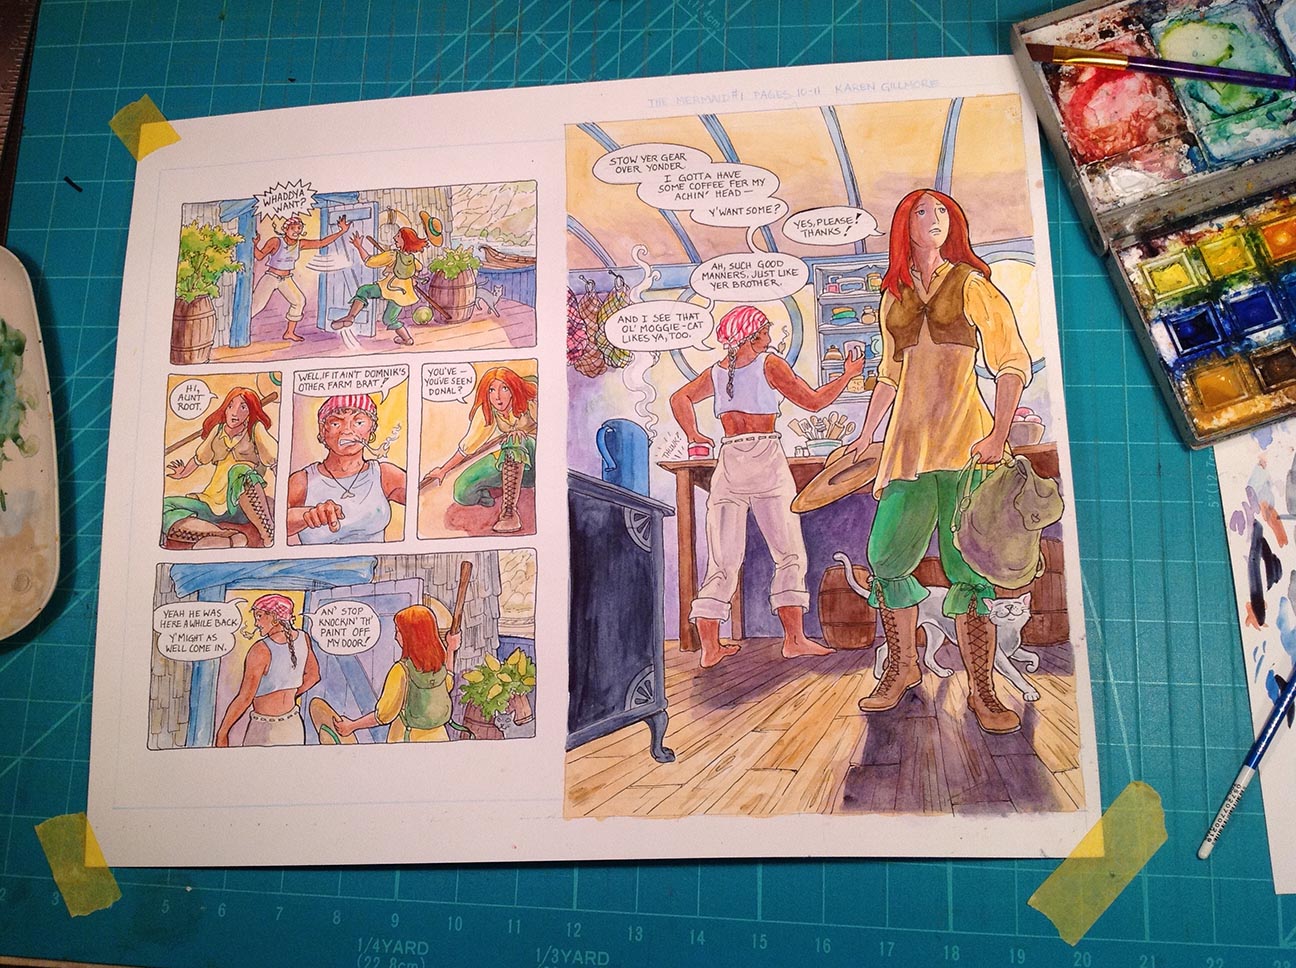
I’ve just posted page 11 of Mermaid Music, my webcomic. It’s my first full-page spread since pages 2 and 3, and I thought it was high time to do another in-progress post, to show how I go about building up the colours on a page. The full page one is easier to show than the ones with panels, because I’m kind of all over the place on those — I usually work on related colours together on the whole page.
First, here’s what it looked like in pencils. I’m a really sloppy penciller, which is why I really should switch to tracing my sketches when I ink, as I did with Spam and the Sasquatch. However, the first chapter of Mermaid Music was already penciled on heavy paper (Strathmore Bristol vellum surface), so I just kept it. I’ll be changing some things for my next chapter. Only 25 more pages to go…
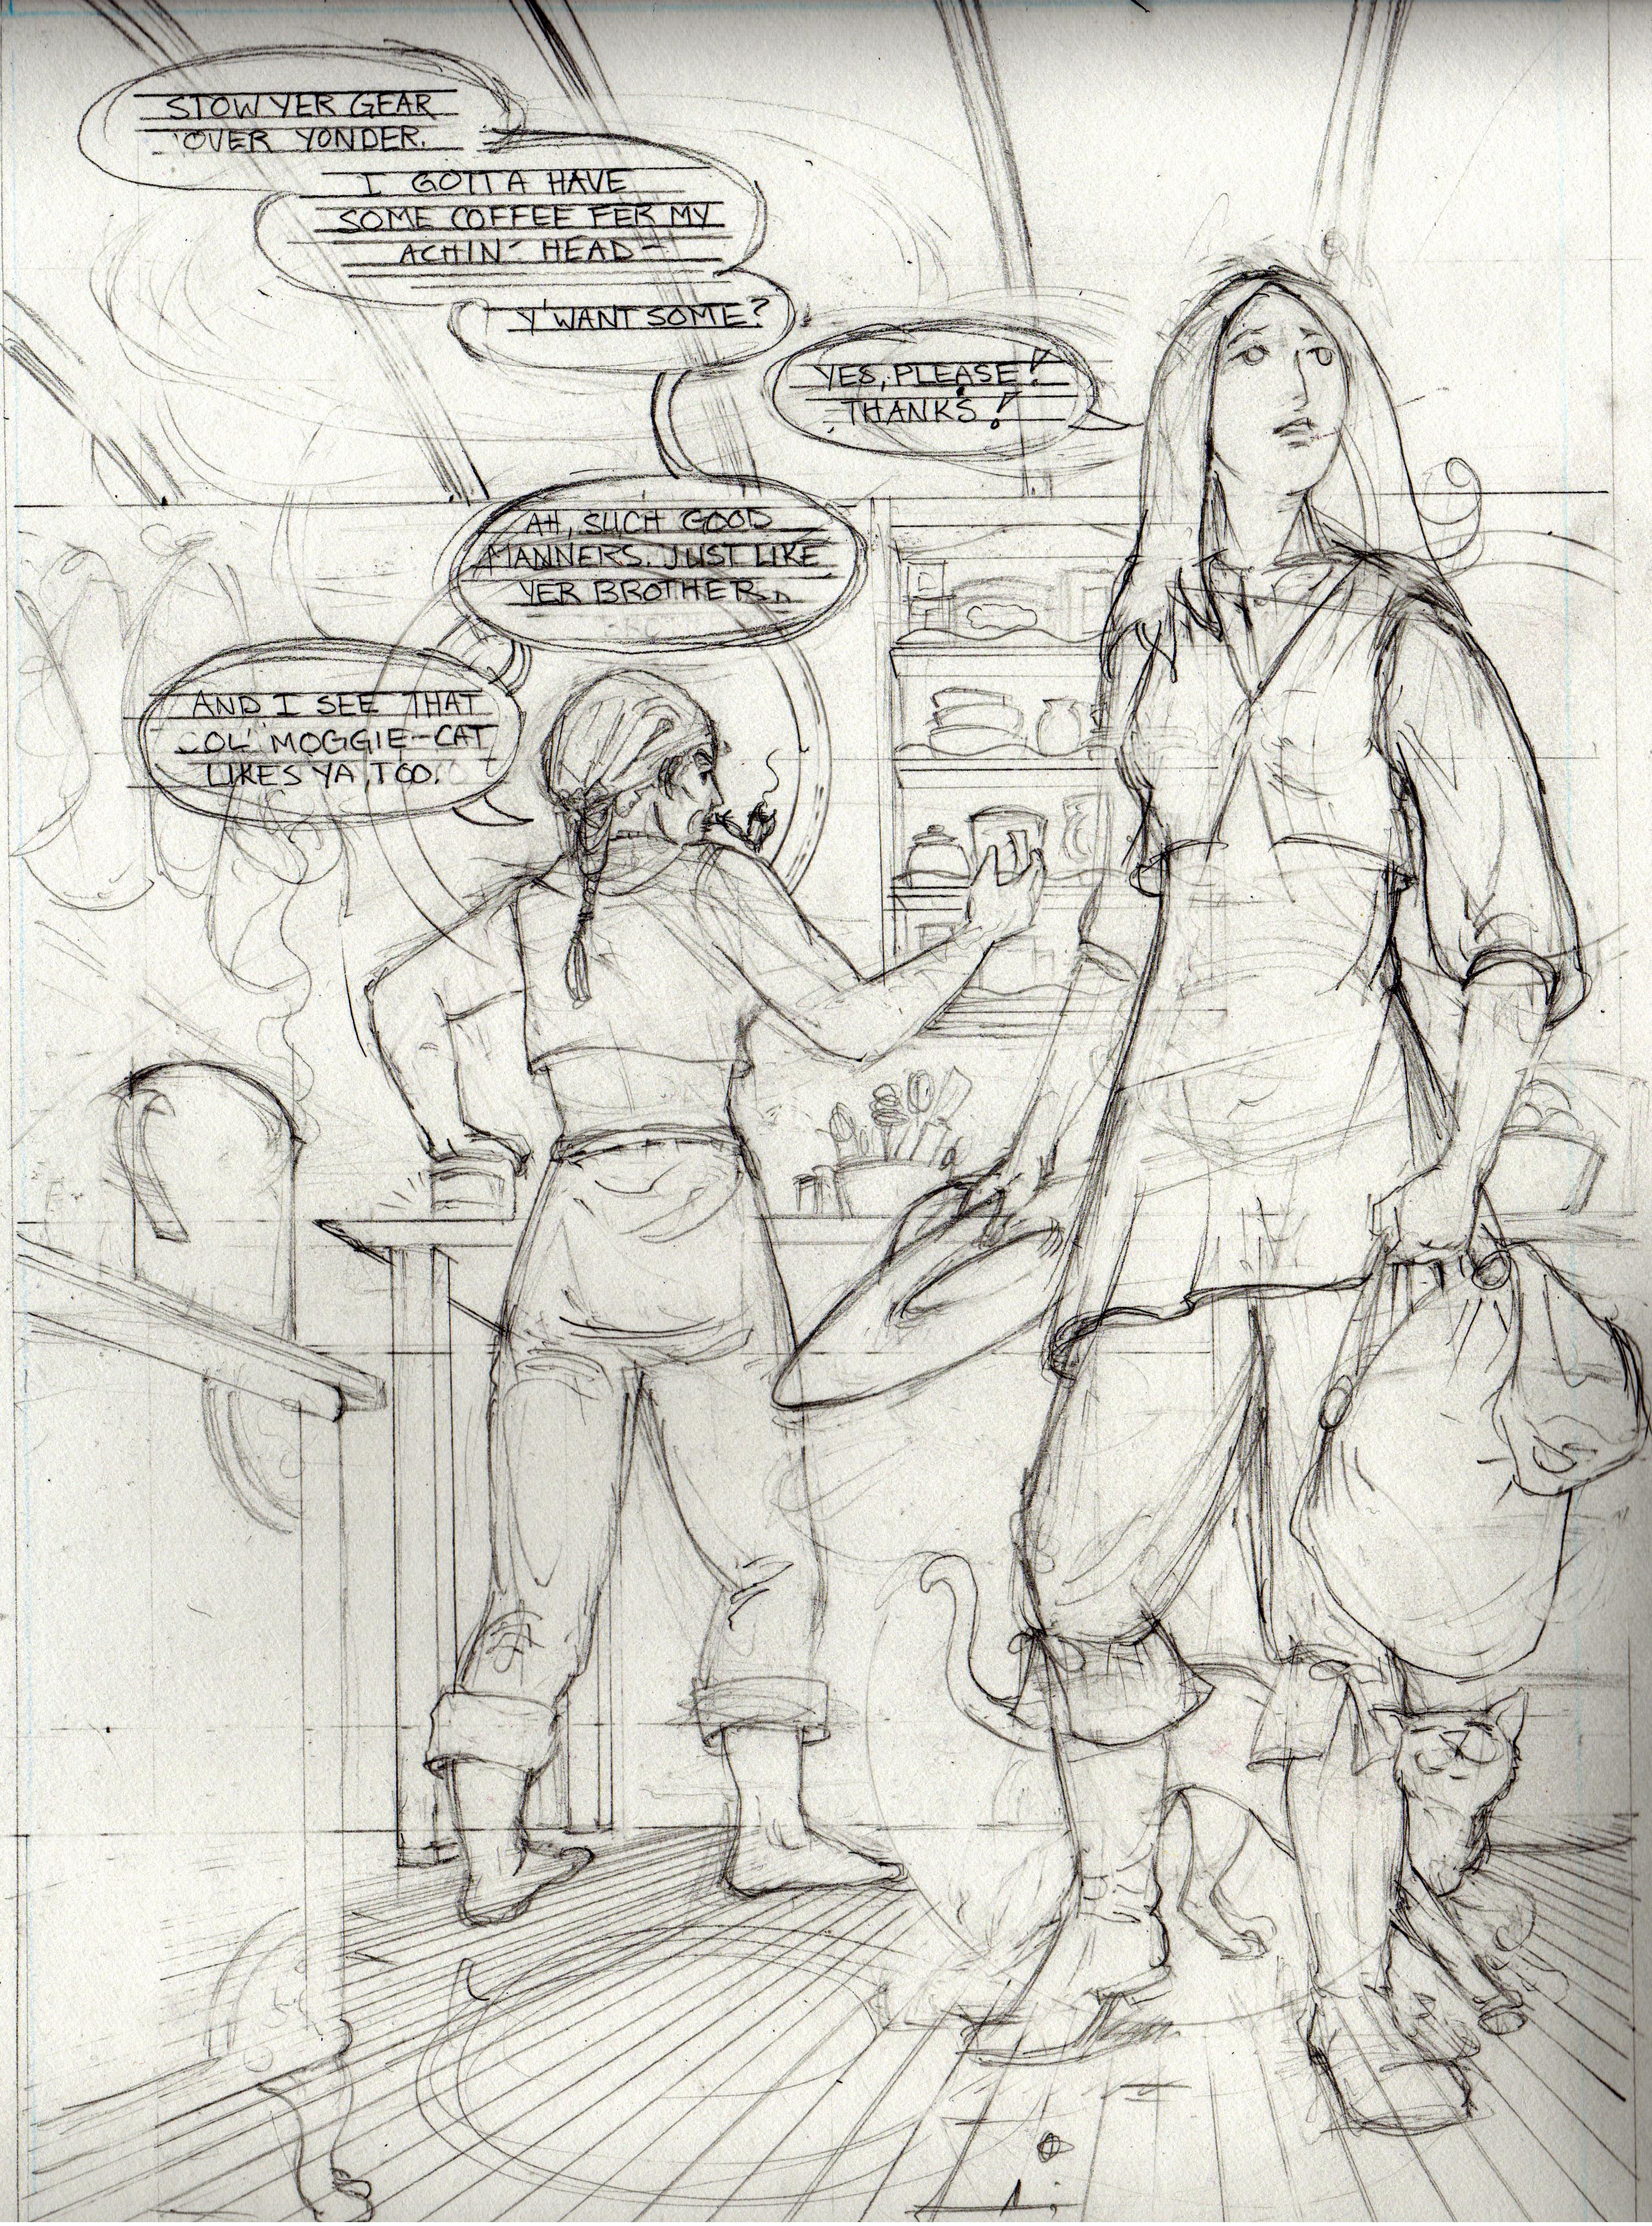
The pencil image has been contrast-enhanced so the pencil would show up; it was very pale in reality. The shadow at the top is because I scanned the whole double spread at once (that was just for my records, or in case I messed up I could do it over) — the double spread doesn’t quite fit the scanner bed. It was such a relief to get to the inking on this one — I knew what I wanted it to look like, with a nice clean line, but looking at the pencil drove me crazy!

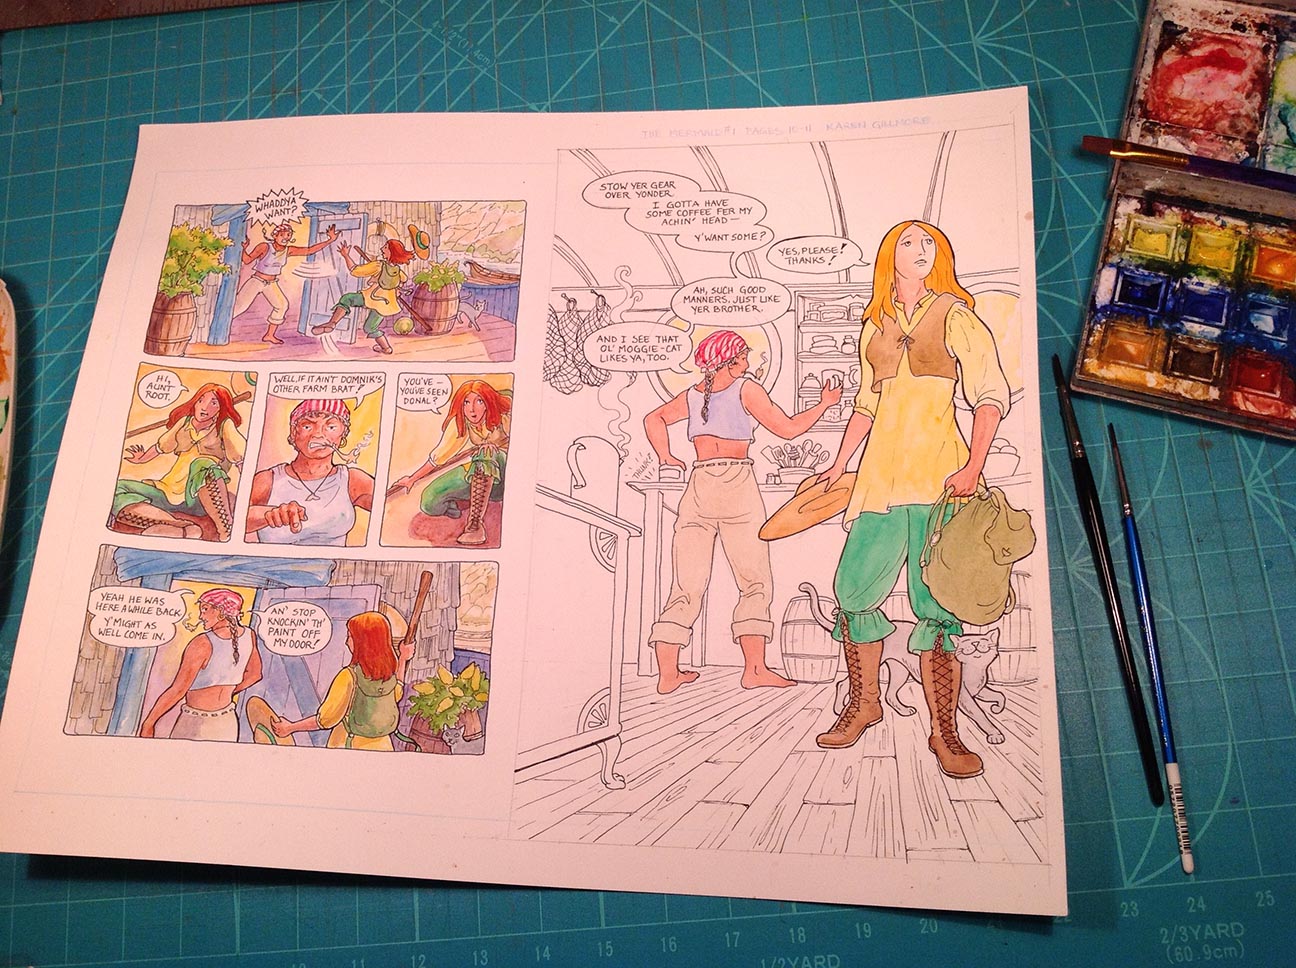
Ah, much more inviting to colour! The first step I usually take is to get the known colours painted. Since I know the characters’ colouring and clothes, I put in the base colours for those first. I start light and build up colours in a series of progressively darker layers. Note: the colours here are kind of pink because that’s the way my iPad reads my colour-corrected lighting, for some reason. It’s kind of pretty — maybe I should do a pink comic!
I like working in double spreads because I like my facing pages to read as a unified piece of art, if possible. Although I’ve been working this way since Spam and the Sasquatch, I think I may change my ways after I finish this chapter (the spreads are all pencilled). I’d like to work a bit bigger and the paper would be too unwieldy at a larger size, and as I said, the paper doesn’t quite fit on the scanner bed.
Next came the hard part; deciding how Aunt Root’s houseboat was going to be decorated (I should really call this post “Decorating with Aunt Root”!). I decided she was the sort of person who would buy a case lot of one colour (in this case blue) and do the whole place with it (add a bucket of white to stretch it for the walls). The roof and floor are wood, so that warms it up a bit. I laid in the base colours for most of the room, then went and had some dinner while it dried. (Vanilla yogurt, an ataulfo mango, and cashews; and that’s as close to food blogging as I’m going to get)
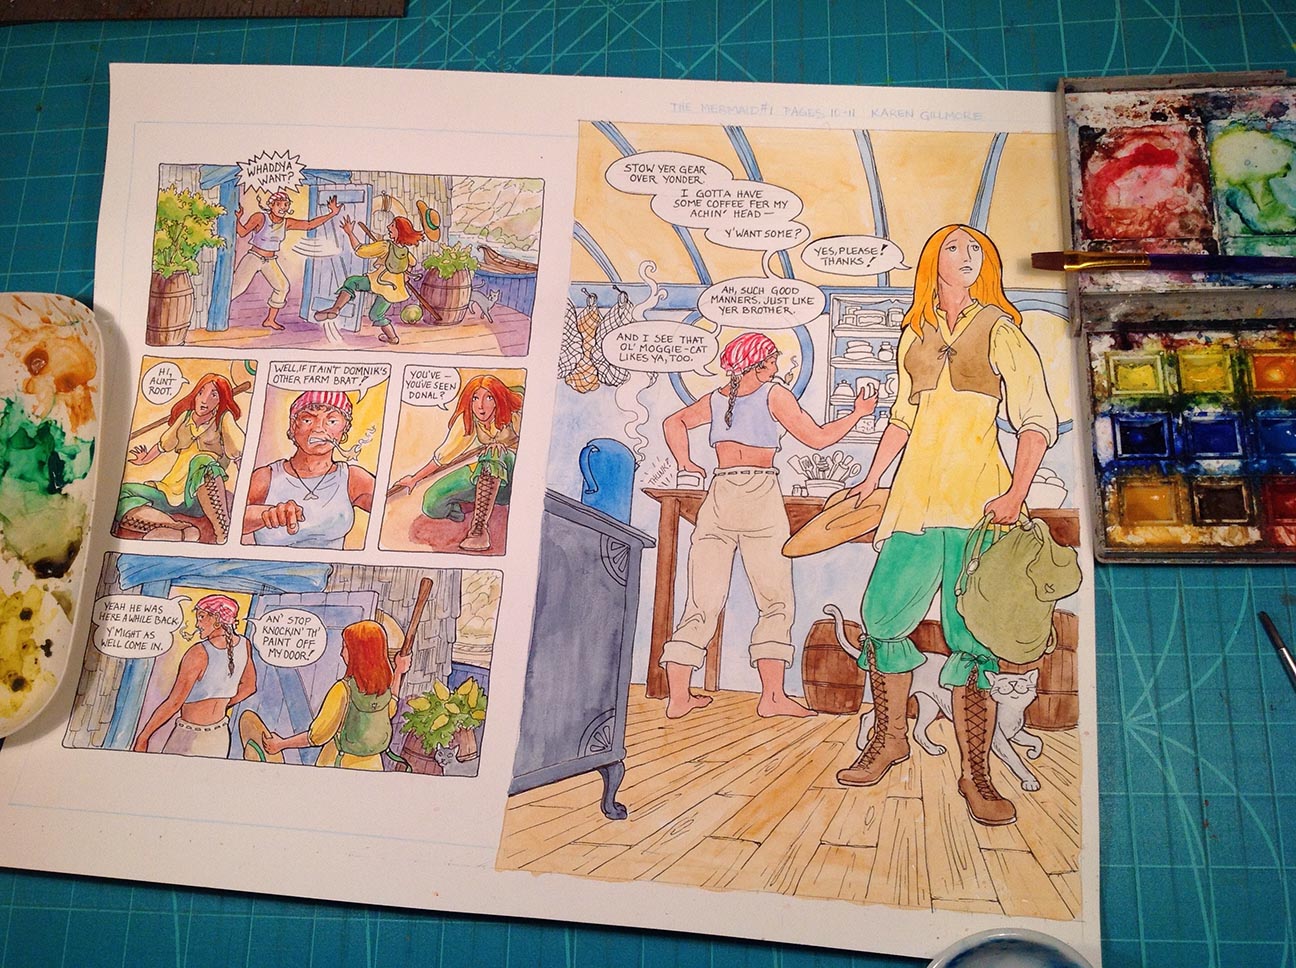
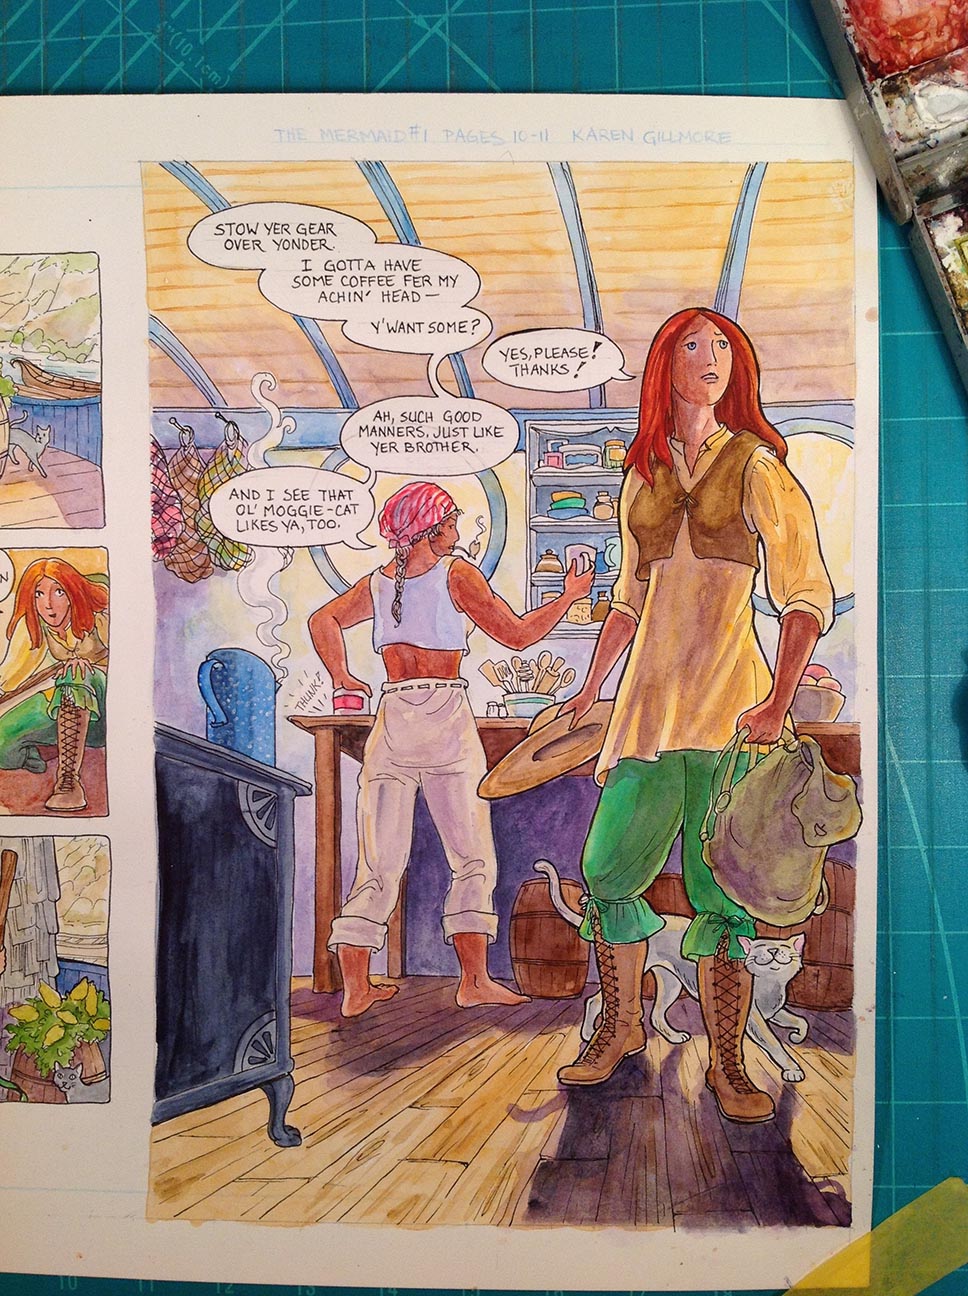
Then it was time to come back and start tightening up the values. I had pretty well visualized where I needed to darken things to make the light colours stand out, so it was just a matter of patiently building up shadows, using purple and indigo. I worked on the background first, so I’d know what I needed to add when it came time to finish the figures.
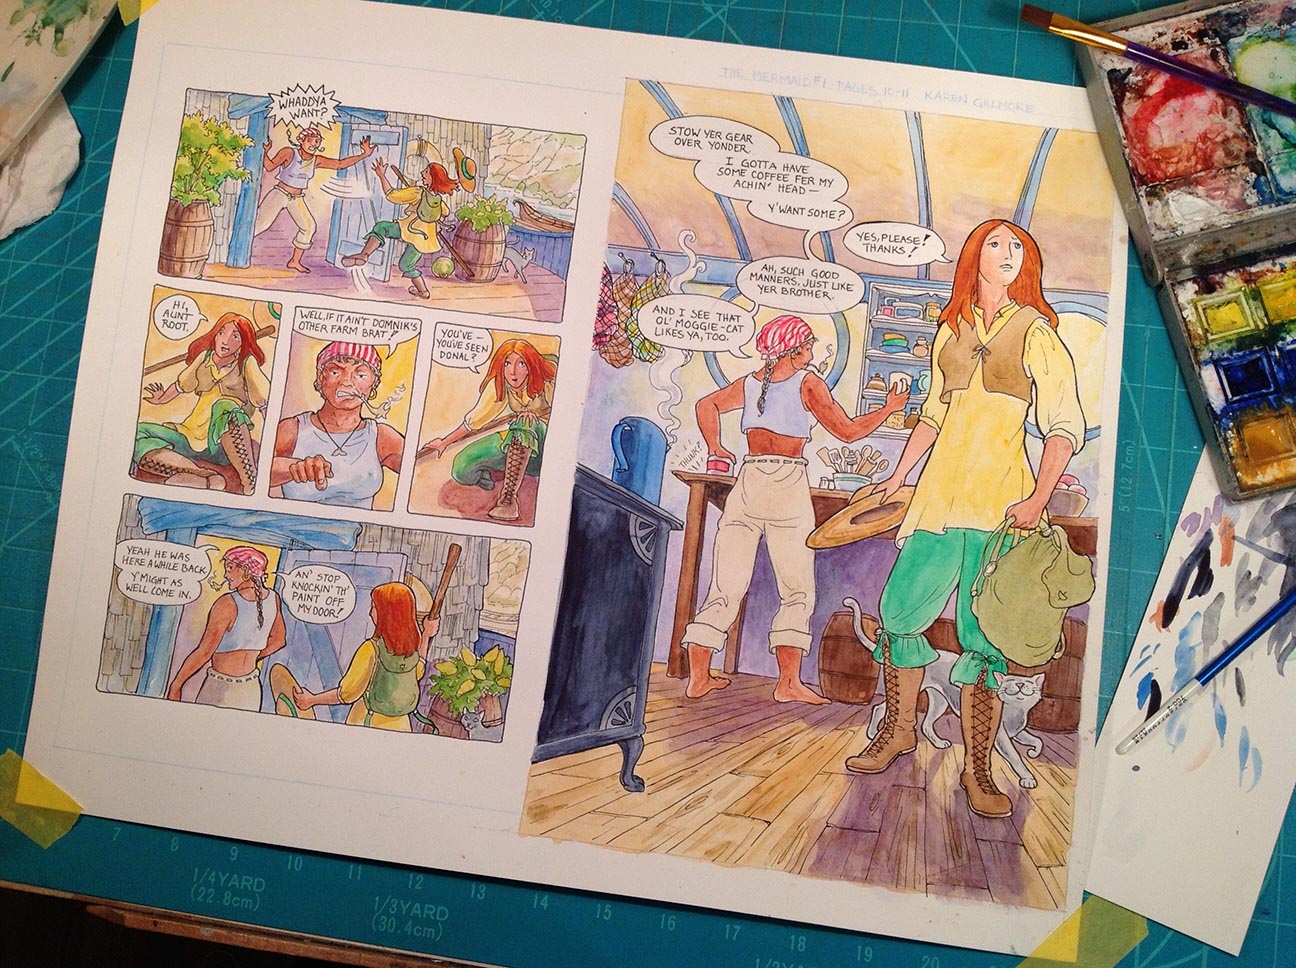
Just about there — most of the details are in at this point.
A few more details, pushing and pulling of the shadows and highlights, and it’s done. Oh and — whoops, forgot to put in the cat’s tail’s shadow! I’m not striving for super realism here; the main consideration for me is that it is clear for the storytelling, and looks nice. I like fairly bright colours so I exaggerate those a bit.
Another whoops: I realized this morning, after I had already scheduled my post for 6 AM this morning (and it had gone out, because I do not get up that early if I can help it), that the stove was floating in space! ARRRGGHH! How embarrassing! *blush* So this evening I changed it. For anyone who noticed, good catch! Here’s what it looked like:
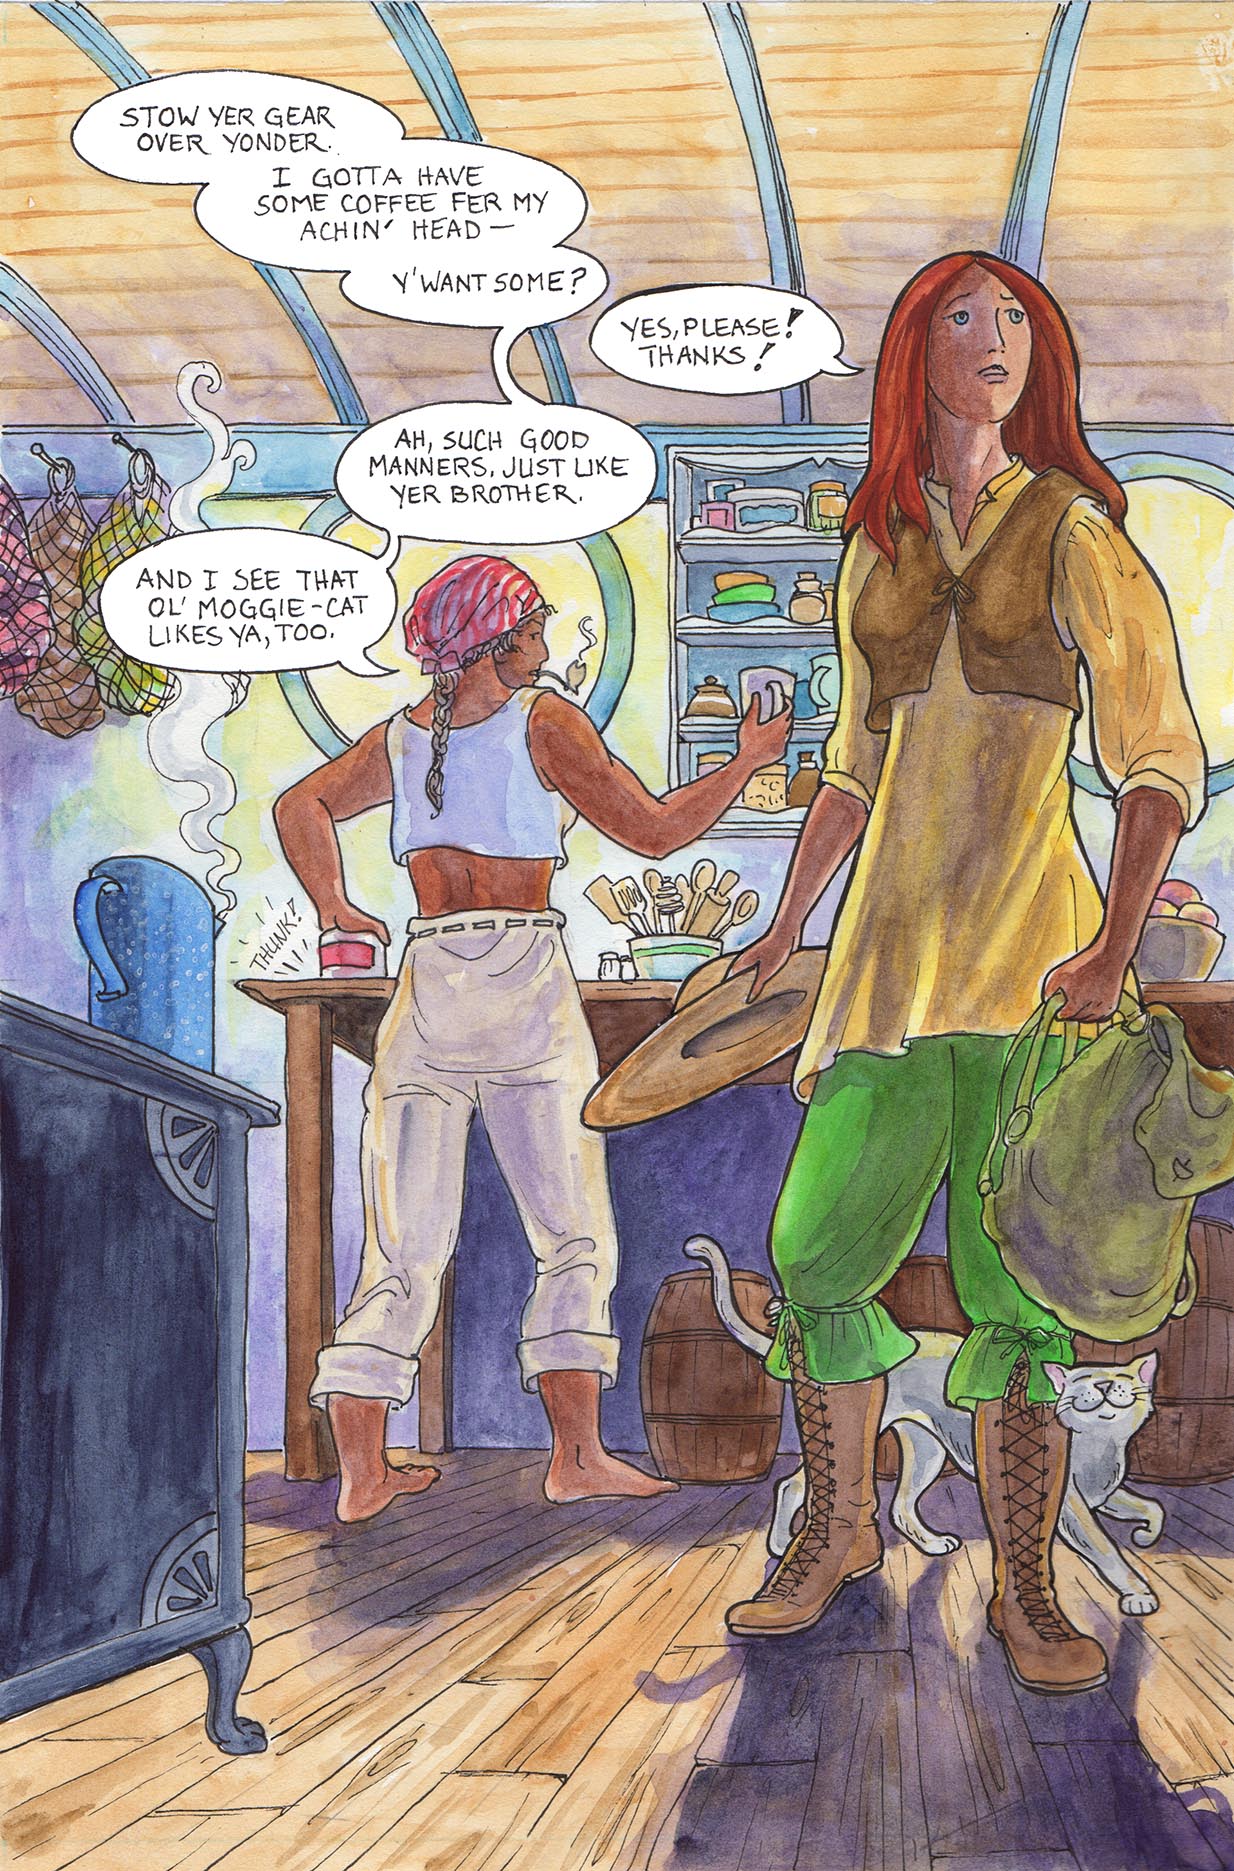
Here’s the amended painting, stove now firmly on the floor.

When the painting is done, my work is still not over; I scan the painting to Photoshop as a high-resolution TIFF file (for later paper publishing), and do whatever cleanup needs to be done, usually margins and balloons, but since this is a bleed I got to skip the margins (and *grumble* I had to do it twice because of my earlier visual faux-pas). I usually pump up the dark levels a bit, because my scanner seems to bleach them out a bit, and I want the colours to be rich. Then I save it as a jpeg and adjust the size so that it won’t be a huge file and take up all my expensive WordPress storage space. Then I load it up to the Mermaid Music blog (I’m using a WordPress theme called Panels, specially made for comics), choose my tags, put in the chapter and page and a little caption, and it’s done.
People ask how long it takes me to do a page; altogether the thumbnail took about half an hour; penciling took about two and a half hours; inking about two hours; the painting part took me about three hours; another half hour to do the digital work. So that’s an eight and a half hour day, if I had done it straight through; practically speaking, I like to do a bunch of pencils, then the inks, then the colours. The scanning and digital work I usually do as I finish each page.
I hope this makes you want to head right over and check out Mermaid Music!

Pingback: Making Mermaid Music | Mermaid Music·
Loved seeing your process, your drawing style is so appealing. I’m learning a lot, thank you.
LikeLiked by 1 person
Thanks, Sharon! I’m glad you enjoyed it.
LikeLiked by 1 person
Your artwork is amazing, I love your style!
Keep up the great work! 🙂
Love,
Isabella
LikeLike
Hi Isabella! Thank you, I’m glad you enjoyed it. Thanks for the follow — I’m heading over to your blog to take a look!
LikeLiked by 1 person
Thanks for you process layout. I learn a bunch from reading these type of posts from you. I missed the stove shadow. . 😃
LikeLiked by 1 person
You’re welcome! Funny how such a little thing as a shadow can make such a difference, eh?
LikeLiked by 2 people
Thank you for posting examples of your process! I’m always curious to see how artists go through creating their finished pages. Yours are beautiful, by the way. You put a lot of work into each page and it shows in how wonderful they look!
LikeLike
Thank you, Tori! I also like seeing other people’s processes, so it seems natural to post my own. Glad you enjoyed it!
LikeLiked by 1 person