
The other night I found myself at a meeting, feeling twitchy and wanting to doodle. No paper? But wait — I had brought my laptop! I dug out an ink line drawing from my old “Mak” comic (part of Telling Tales), and proceeded to colour happily away in Photoshop. The amazing thing was that I still managed to listen to and participate in the meeting!
Later I thought I’d like to try another colouring technique, using the ink-wash version of the comic. Here are the different stages and versions (so far — this is kind of addictive!). Which one do you like best?
Disclaimer: I’m not at all an expert in Photoshop — I’m just learning how to do this stuff, and this is just to show off my progress because I’m so excited about it!
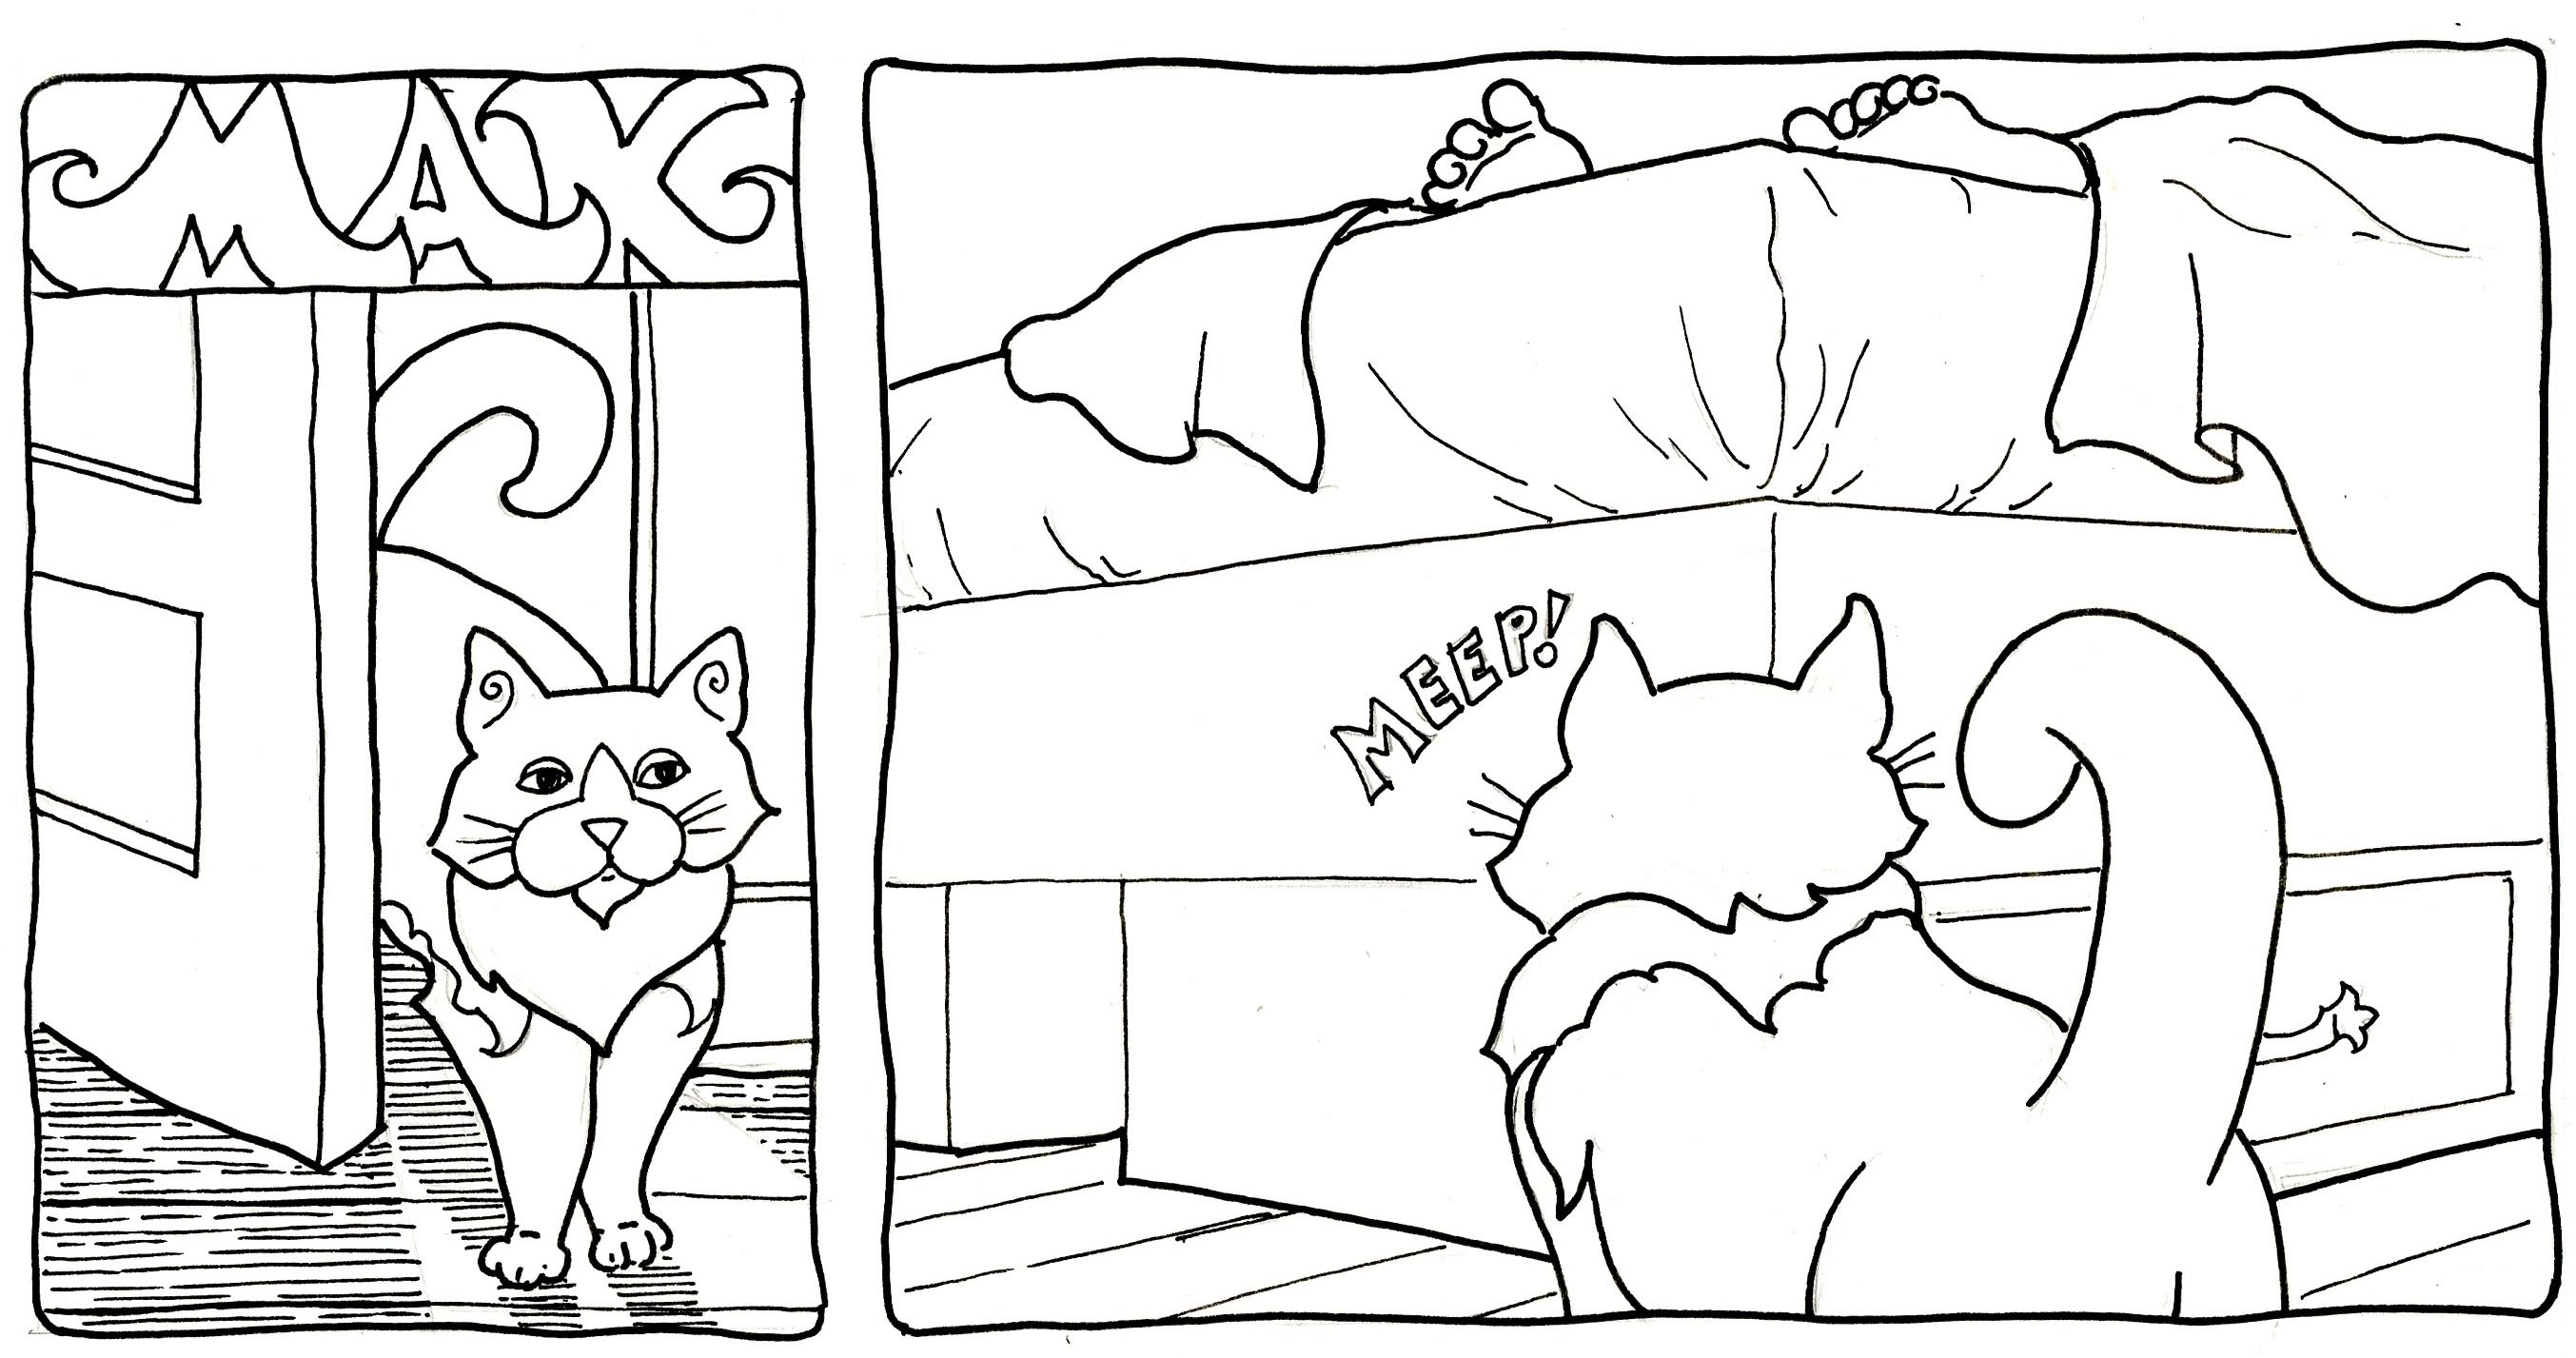
Here’s the original line drawing. It’s the first two panels of page 1. This was done with Pigma Micron pens on comic art board.

The brightly coloured version that I did at the meeting.
I used two layers, one for the original ink, and one to colour on. The colour layer was set to “multiply”, so that the ink lines would stay visible. I mostly selected areas with the Magic Wand, and filled them either with the Paint Bucket or Gradient tool.

Here’s the original finished version of the comic, done traditionally with ink wash on top of the line drawing shown above.
This is a time-consuming process, with many layers of very diluted India ink built up gradually. I very much like the results of this technique, but it makes me quite tense because once down, the ink is oh, so permanent!

This is a Photoshop colouring on top of the ink wash version.
This technique is similar to the traditional painting technique of glazing over a grisaille (a term for a painting executed entirely in monochrome, typically grey) underpainting. It’s something I’ve done using acrylics; the glazing layer is done with paints diluted quite a bit with clear medium, so you can see the previous layers.
In Photoshop, I didn’t make any layers as I did for the first one (though if I were chicken, or trying for a more complex glazing effect, I could have), but “painted” directly on the jpeg of the ink wash drawing. I had never tried this before, so I tried several different things, depending on the area I was working on. I found that I didn’t usually need to select an area, but could just drop colour in with the Paint Bucket, adjusting the tolerance for how sensitive I wanted the spread of the colour to be to different levels of light/dark.
For fiddlier areas, i used the paintbrush and pencil tools, and there is a bit of gradient in some areas — though I didn’t need that much because the ink had already established light/dark graduations. The key to this whole exercise was to keep the opacity on all tools low — mostly around 25% but sometimes as high as 50%. I like the way this one turned out kind of muted, but still colourful; I think it’s very warm and inviting.
PS — I only used the trackpad on my laptop; normally I would be using my Wacom tablet with a stylus if I were working at my desktop computer.

These are great. I tend to like the first color version best, but only because the colors are brighter and I love bright colors. I wish we were close together so you could show me Photoshop. I am not making much progress with videos and written hints. LOL
LikeLike
Thanks, Charlotte! I wish we were closer together too. Maybe we’ll find ourselves at a convention again together, eh? What I did was pretty simple for someone like you, with a grasp of digital imagery in general. In fact, that’s my first rule to myself, is keep it simple, and as much like traditional media as I can (at least until I get more advanced!). If I find anything online, or a good book, I’ll let you know.
I just updated this post; I hate the caption font in this new wordpress theme! But there are a lot of other things I like, so I think I’ll keep it.
LikeLiked by 1 person
You think we might actually find any time to do anything at a convention besides run back and forth and be “conventioneers?” LOL Maybe years ago when I could run on only two hours of sleep a night . . .
LikeLike
Hahaha! Same here, same here…
LikeLiked by 1 person
🙂
LikeLike