
This afternoon I took some progress shots on the new Spam the Cat maquette. I forgot to take pictures in the wire armature stage, sorry! I’ll remember on my next one, which will either be Renfrew the Raccoon or The Sasquatch. But to fill in with words where my pictures are lacking, I start with a sort of skeleton, really more like a stick figure, made of armature wire, a very flexible aluminum wire. Then I fill in with wads of aluminum foil (I save and wash it from my cooking uses!) to bulk out and strengthen the armature. I hold together wire joints and foil ends with floral tape, a lightly sticky, stretchy tape that sticks to itself but is easy to remove and reposition if needed. It really helps me keep from getting stuck with loose wire ends, and eliminates the need for extra hands or a prehensile tail while putting the clay over the foil.
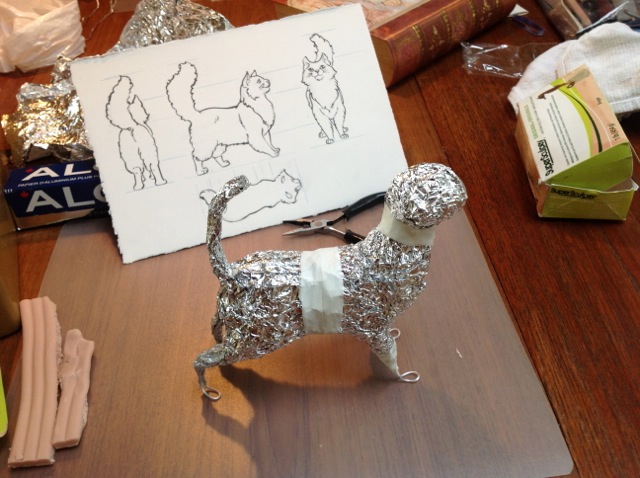
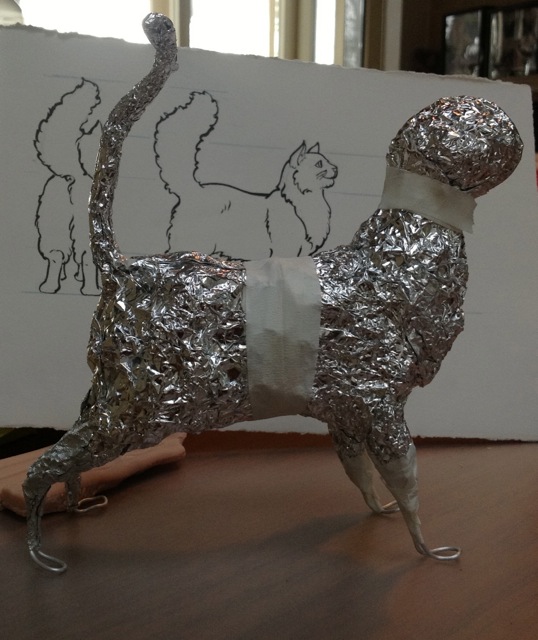
When I get the armature bulked out enough (I have to factor in that I am going to put at least a quarter inch of polymer clay on the outside, so I try not to make it too fat!), I can start covering it with the clay. I’m using Super Sculpey here; it’s much stronger than the coloured kinds of regular Sculpey. You have to knead it a bit and warm it up to make it flexible enough to work. My fingers are kind of tender tonight from kneading and blending the clay onto the maquette. Here you can see a bit of the floral tape.
Here I’ve started giving Spam some skin. It’s a bit less then a quarter inch.
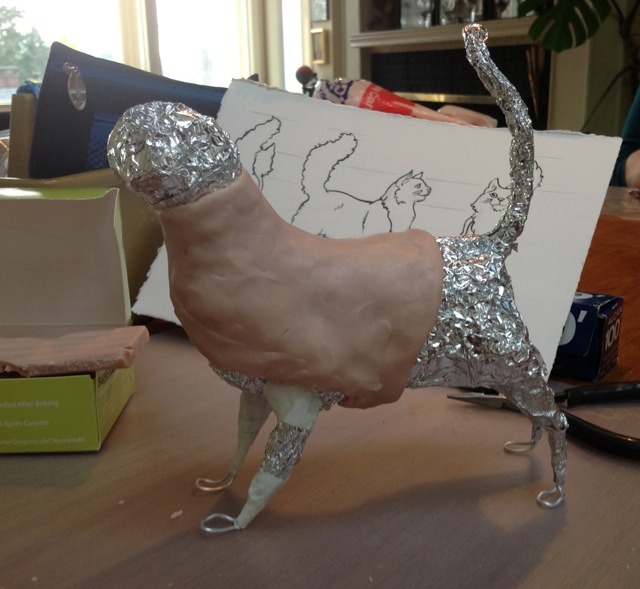
I moved Spam over to the window for a little better light. Yes, that’s an ostrich egg. I think the other one might be an emu egg, I’ll have to ask my teachers, whose eggs those are. Wait, I don’t mean my teachers are an ostrich and an emu — oh, never mind, just look at the kitty-to-be.
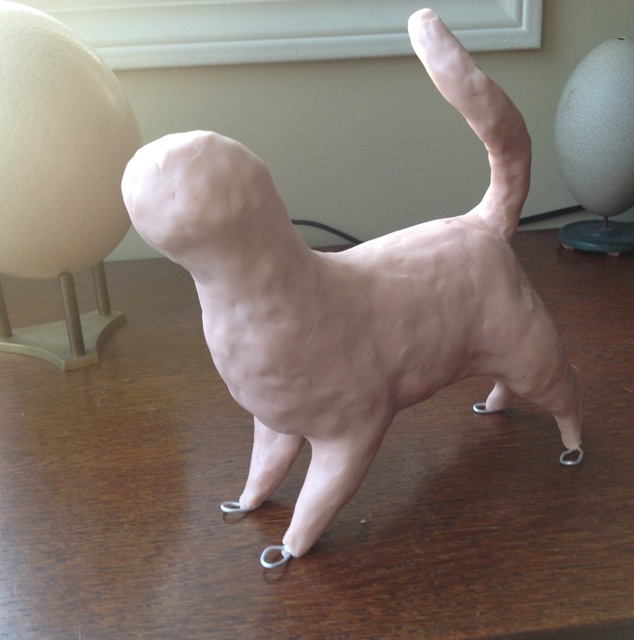
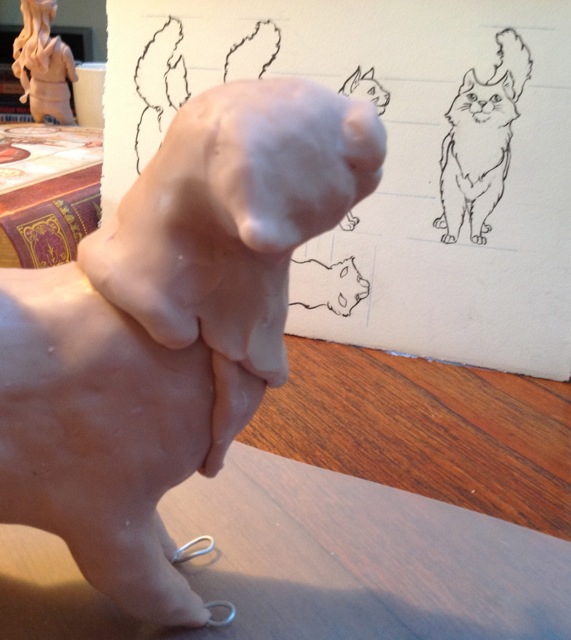
I added a muzzle made of two equal balls for each side, a little fat crescent for the chin, and a long triangular piece for the top of the nose that fit into the two balls. I just sort of squashed them on for now; later I’ll take care of the details.

I added some side whiskers. It looks really strange right now, more like a puppy’s ears, but will look better when I put those pointy kitty ears on him, and some eyes!
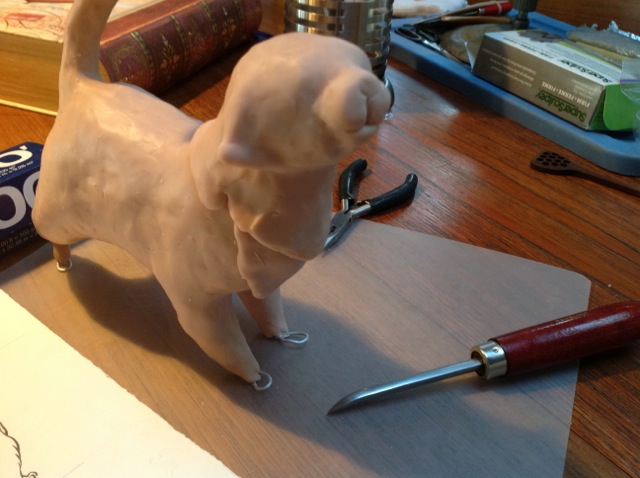
I’ve also started adding some bulk for his neck ruff. This will get carved into waves and curls, and eventually surface textured for the fine detail. That’s my favourite blending tool at the bottom right; it’s a printmaking burnisher. It really helps when my fingers get tired, which they certainly were by this point!
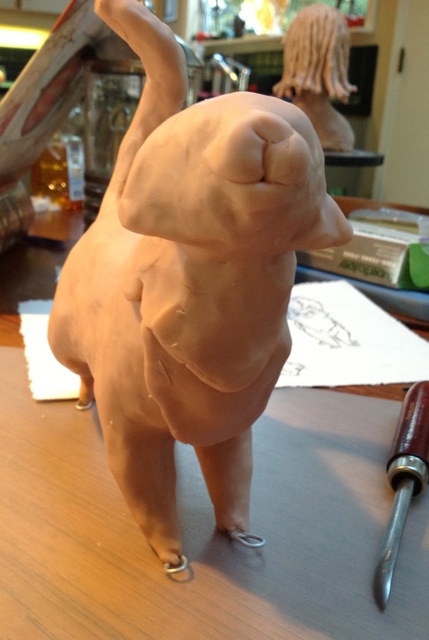
And this is as far as I’ve gotten today; he’s already full of incipient personality, don’t you think?

I was just thinking, as i looked at the last photo, that he already has character. Then i read your
note. 🙂
LikeLike
Thank you, Jacquie! Good to know he’s already giving that impression before I even asked!
LikeLike
He’s looking good! He’s got a cute little cat smile!
LikeLike
To save yourself a lot of pain kneeding the crumbly clay into soft pliable clay, use a pasta machine. It makes the job super easy!
LikeLike
Thanks, stacystudios! I do have one, and was kicking myself yesterday for not bringing it. I will be using it next time for sure! The Super Sculpey is not particularly crumbly, just stiff. And the grey Super Sculpey, which is supposed to be good for extra strength and sharp details, is even stiffer!
LikeLike
I learned something new today. I never knew you made a clay image to work with. Makes sense, but I thought comic artists just drew the characters and compared drawings to one another. Very interesting, and he looks great!
LikeLike
Most of the time I do just draw the characters, but it helps to do character drawings from different angles in advance, much like the one I’m using for Spam. Making them in clay is useful for lighting and different angles, and even for just getting a feel for how the character is built so I can imagine how he or she would look in different positions. And they look really cool on the shelf, too.
LikeLike
Pingback: A Bit of Studio Drama — Spam the Maquette gets Surgery (part 3) | Karen Gillmore Art·
Pingback: Character study — A Young Lady Sasquatch | Karen Gillmore Art·
Pingback: Technique of the Week, or, finishing Spam the Cat (part 4) | Karen Gillmore Art·
How did you remove the foil after?
LikeLike
Good question! I didn’t. The foil stays inside the sculpture, being able to withstand the baking process. The polymer clay layer is relatively thin, and receives additional support from the core of foil. There are two main reason for using foil as an armature rather than building up layers of clay: 1. it is lighter and lots cheaper; and 2. it would require many, many bakings as layers were built up — if one were to sculpt something this size and bake it all in one go, the outside would burn and the inside would still be soft (think cookies!). Generally I figure on adding about 1/4 inch at a time.
LikeLike
I have a toaster oven that I bake my polymer clay in….. do you have a dedicated normal oven that you use?
LikeLike
No I don’t — but the oven gets cleaned after polymer clay use. I don’t do very much of it (haven’t now done any for a few years), and the reading I’ve done indicates that it’s OK to use a home oven for occasional use. If I were doing a lot of small things, like beads or small figures, I would get a dedicated toaster oven like you have. But there’s just not room here for an extra oven!
LikeLike