This post was supposed to happen yesterday, but it didn’t, due to my discovery that I needed to do a bit more organizing of the images. Also I just plain got distracted — is that happening to you a lot these days? It certainly is to me!
But here I am, and since, in my organizing, I found a couple more of these that I want to post, I’m going to make this two posts (which gives me something to do tomorrow — if I don’t get distracted again!).
I’ve been learning a new drawing app called Procreate. It’s made specifically for the iPad Pro coupled with the Apple Pencil (although I understand it will work on other models and the iPhone, but you have to use your fingers or a regular stylus). I got these spiffy tools a while back with just this in mind, but it’s taken me a while to get around to learning how to do it.
While Procreate is much more intuitive than, say, Photoshop, it does have a learning curve (what doesn’t?). I had been hearing wonderful things about this app, but wasn’t quite sure how to get started until I found this video by Lisa Bardot of Bardot Brushes. It’s pretty much the perfect introductory video for someone like me — simple explanations, demos that don’t go too fast, with attractive and accessible artwork examples. In short, simultaneously non-threatening for a beginner, friendly, and inspiring. I watched it three times — the first time with my eyes bugging out at what this program could do. Then I had to go try out some of the things I remembered. Then I watched it again, and tried out some more stuff, then again, stopping and starting and taking detailed notes.
It was plenty of info to get going on drawing some animals; I was trying to catch up on the Zooly Weekly Art Challenge prompts. You may notice that the style of these first ones was pretty simple. Part of that was a conscious effort inspired by the simple illustration style in the video; I wanted to see if I could restrain my instincts toward detail and just put in the essentials. Part of it was because I still only had a limited grasp of the tool, and was working within that.
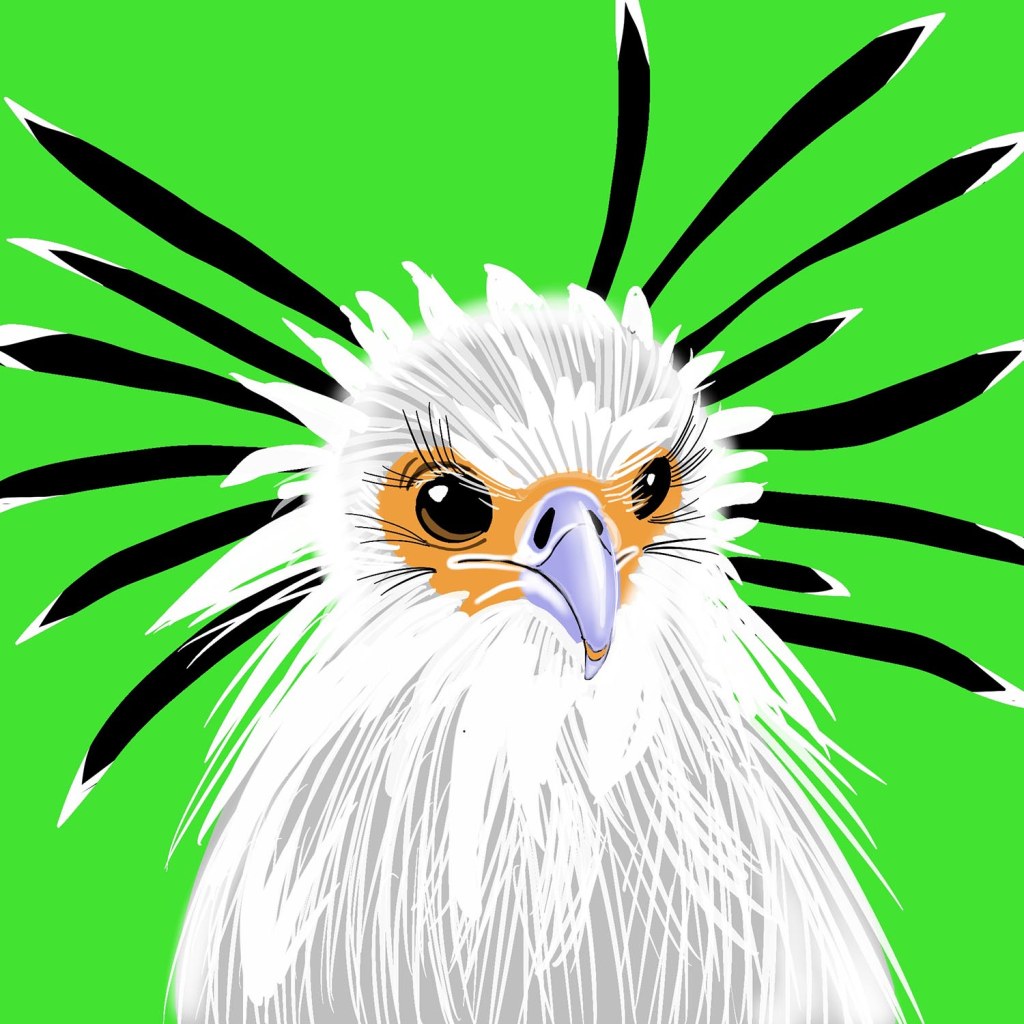
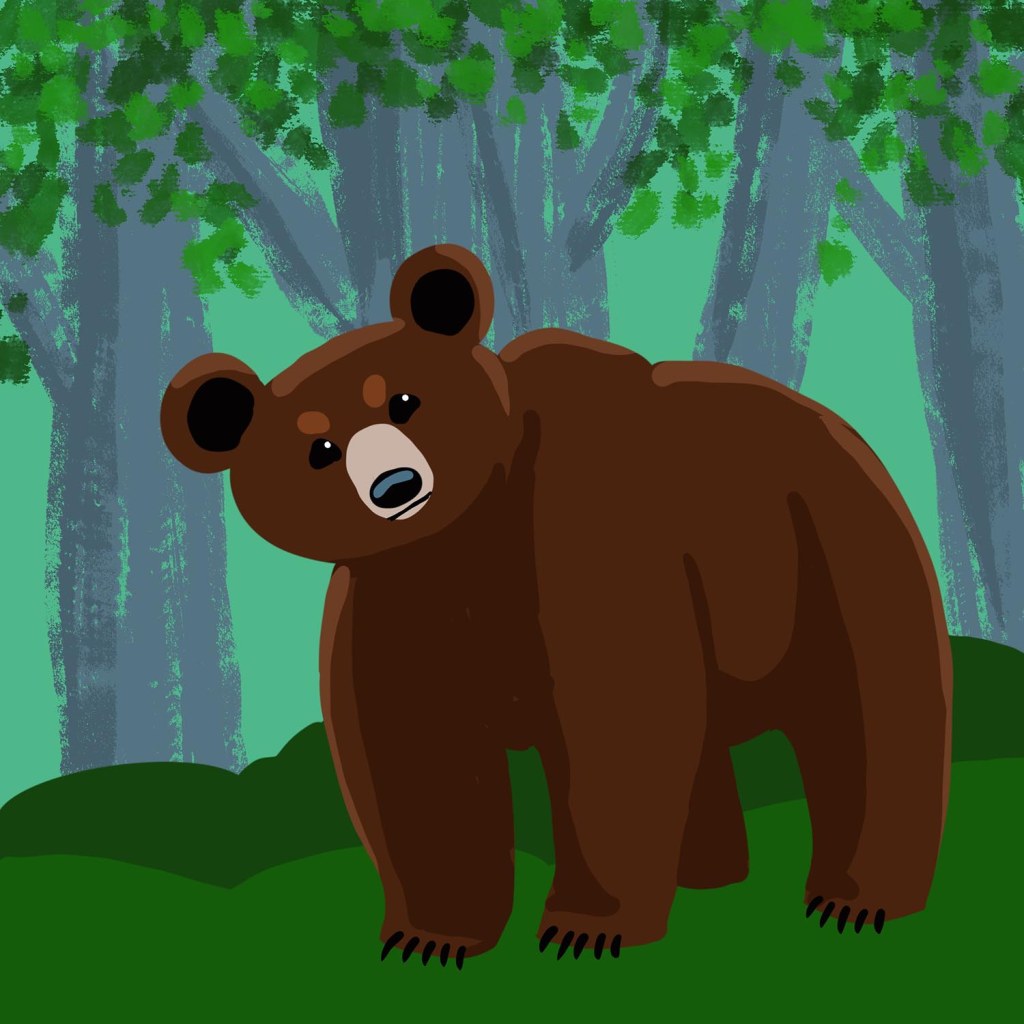
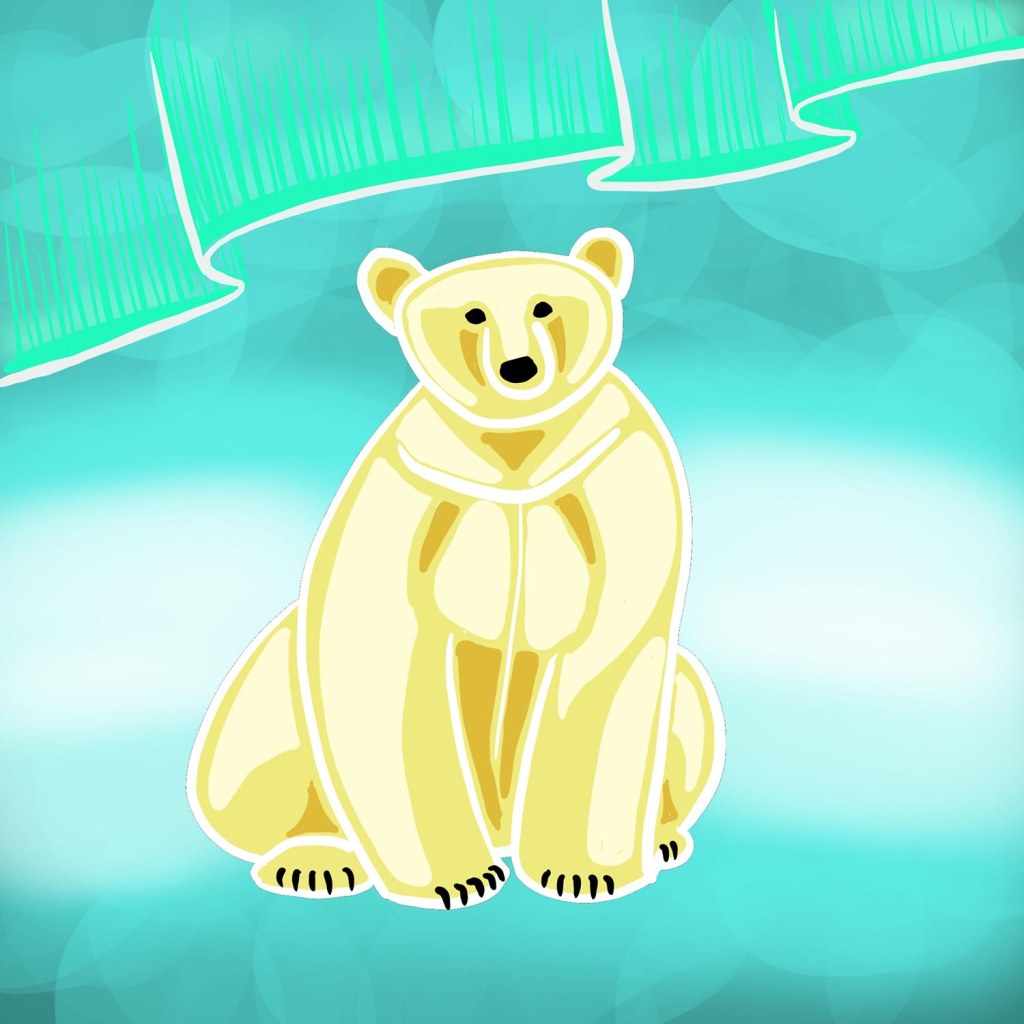
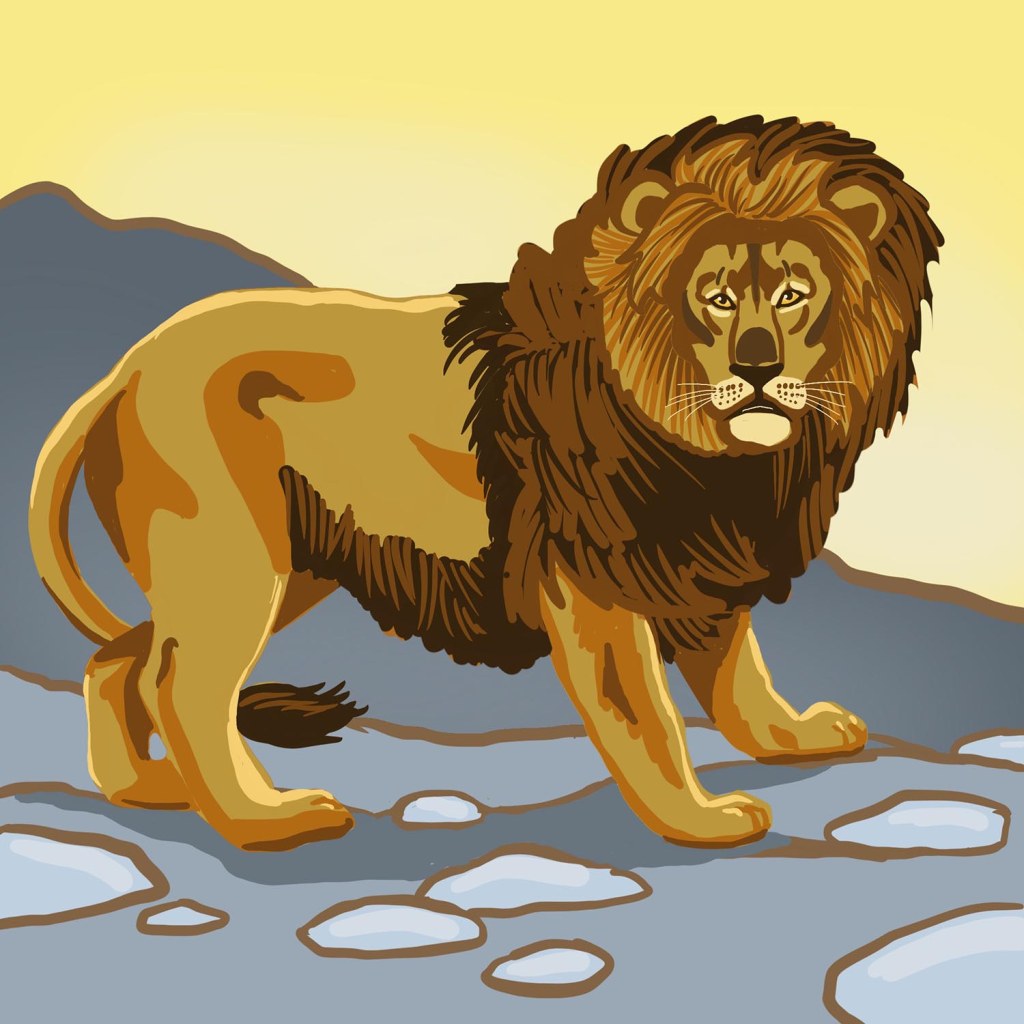
My first effort was a Secretary Bird. These creatures are so dramatic — how about those eyelashes, eh? They’re pretty neat strutting around, but since I was trying something new, I decided to focus just on the head. One of the key tools in Procreate is how you can use the layers to facilitate selecting areas to paint without affecting others, so the grey base colour and white feathers are on separate layers, as well as the crown feathers, the face colouring, the eyes, and the beak. And maybe a couple of others that I’ve forgotten. This enables you to work non-destructively on each layer, in regard to the other layer. You shift the layer order around to put things on top of or underneath each other, kind of like making a collage.The next one I did, I only had a brief time to work that day — about 15 minutes. I’d been drawing bears, so decided to just do a quick bear shape out of my head, and try out some of the funky brushes for the background trees. I was really aiming for a children’s book look here, and was pretty happy with it, for such a quick drawing!Then I decided to try some completely different techniques on this Gaur. There are “pencils” in the brush selections, which look a lot like real ones, and I decided to try for a pencil-sketch look. But then I decided to “paint” it, and got really confused with which layer I was on — turns out, developing some habits of Layer Hygiene are part of the learning curve! Now I lock some layers that I want to keep distinct to keep myself from working on them by mistake. The border was darkened using the “smudge” tool; you actually do that with your finger, and it feels like finger-painting without the mess! I’m not all that pleased with this drawing, but I let it stand as one of my early stepping stones.After the frustration of the Gaur, I decided to go back to streamlined and simple when I once again had a hectic day with little time. I had been wondering what would happen if I used light-coloured lines for a drawing, so I tried it out on this Polar Bear. One thing that’s really cool that Procreate does is allow you to export a video of the steps you’ve gone through in a drawing. Here’s a you-tube of this one (for some reason, you-tube changes the colours a bit, and cut off the ending, but you’ll get the idea). Heartened by my experience with the polar bear, I tried this Barbary Lion. I had noticed, while looking at my Instagram page, that I was using blue and green a lot, so I challenged myself to do something totally without those colours! I used several different photos for reference here; since I was not trying for super-accurate fine detail, I was able to make up the position I wanted and invent the shading, while still keeping it fairly realistic.
That’s it for today! I have more Procreate animals to show, and will post that next (see what I did there? No promises for tomorrow — but I’ll try for it anyway!).
Wow Karen, I really enjoyed seeing these and I’m amazed at how well they worked out, especially since you haven’t used the program very much. Lovely, thanks for sharing!


Wow Karen, I really enjoyed seeing these and I’m amazed at how well they worked out, especially since you haven’t used the program very much. Lovely, thanks for sharing!
LikeLike
Thanks, Caroline! I’ve been using it a lot, since the beginning of the year. Once I got started, I got hooked!
LikeLike
Pingback: Art in the Quarantine Age | Karen Gillmore Art·