
Plein- Air: just a fancy way of saying you are going outside to paint!
With spring upon us in the northern hemisphere (more or less), it’s time to start thinking about taking the ol’ art supplies for an outing! This is something I don’t get to do as often as I’d like, and when I do, I don’t usually make anything earthshakingly lovely, but I always enjoy it anyway. Here’s some stuff I’ve learned over the years — I hope it inspires you to get out there and bag some landscapes, or at least some photos taken as reference for later studio paintings!
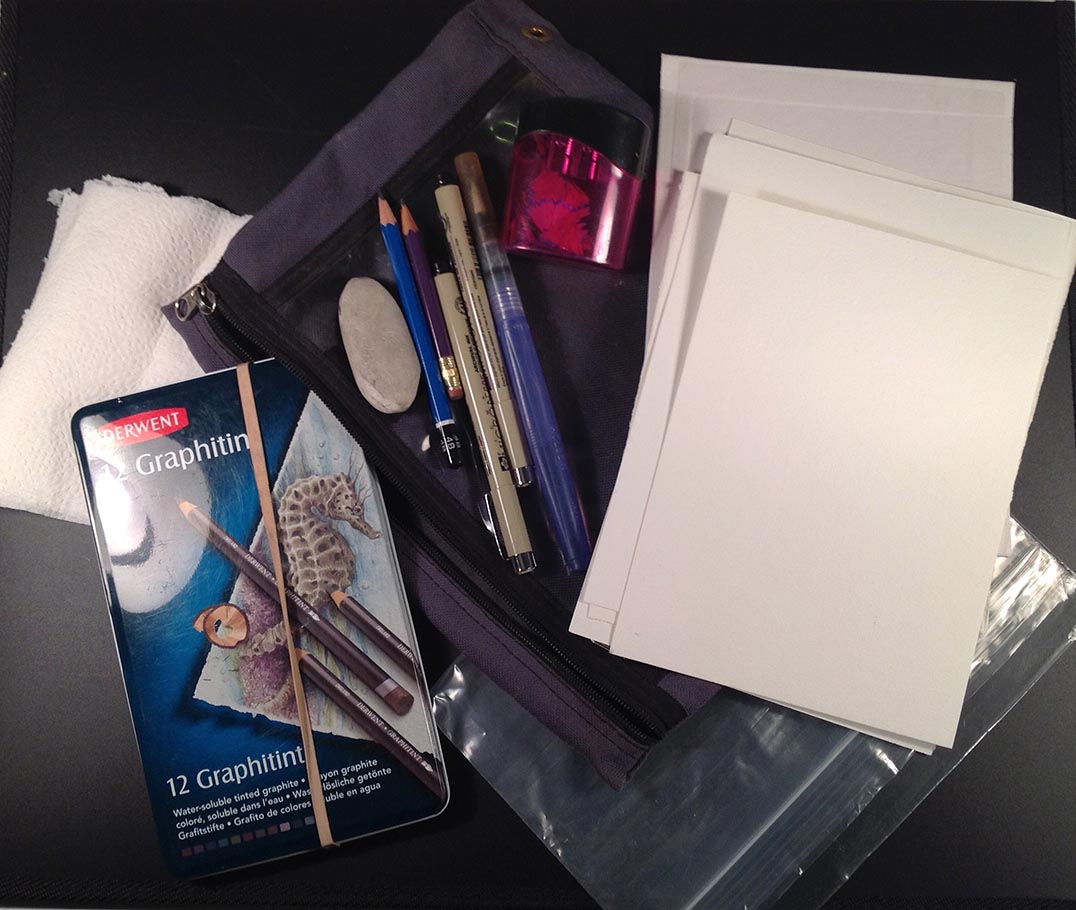
- Travel light! Think through the process of making a painting or drawing, and imagine what you need to do it. Make a list and decide what is essential and what is not. Figure out how you can make the things you need smaller and lighter and more compact. What you can carry will depend how far you plan to walk, and whether or not you need to gather things up if you need to move (for instance, to find a loo). My usual kit these days consists of a set of watercolour pencils, a little pencil case with some regular pencils, maybe some Pigma Micron markers, a pencil sharpener, a good eraser, some pre-separated paper towels in a baggie, and a water-brush (a great tool that holds water in the handle that flows through the brush as you need it). For paper I usually bring some pre-torn-to-size sheets of watercolour paper or Stonehenge paper in a large baggie, and a stiff piece of cardboard or foamcore as a working surface. All this fits into a little case that is made for carrying school supplies inside a three-ring binder (I don’t bring the binder!).

One version of my toolkit for outdoor sketching — super light! Not pictured: my faithful li’l Canon A700 digital.
- Rather than just sitting down the first place you see (unless it is absolutely stunning), check around the location for different angles. Imagine the scenes in a painting; frame it with your hands to get an idea of composition. You can even carry a little viewfinder made out of cardboard for this purpose; though I don’t use one, many people find them helpful to edit down the chaos of an entire landscape and help choose a manageable chunk.

Saxe Point View — my friends and I walked around quite a while before we found this vista. I love painting rocks, so this kept me happy for a while.
- For your comfort: a chair if you need one (there may not always be a park bench where you wish to paint); a small camp stool can serve as a handy table for your supplies. If you are comfy on the ground, bring a waterproof mat to sit on in case the ground is wet. An easel in nice but not necessary if you are not working big. Carrying things: A backpack is most comfortable if you have to walk a ways; this leaves your hands free to carry your chair. Try to fit your supplies into one bag, artbin, or bucket if possible.

“Beacon Hill Dancers” — the gem of Victoria, Beacon Hill Park is full of varied landscapes, and has lots and lots of comfy benches, making it one of my favourite places to paint.
- Dress for varying weather, in layers. If it is warm at your house, it is not always warm at the beach, at least where I live! If it is very hot and sunny, you may want a shade umbrella – you can get umbrellas that attach to chairs or easels, or rig up something with your regular rain umbrella. Or find some good solid shade under a tree (dappled shade will drive you crazy!). Besides keeping yourself out of the sun, it will keep the glare on your white paper from blinding you as you paint. A hat with a good brim and sunscreen are also necessities for summer painting. Remember that even on a cloudy day, you can get sunburned. Insect repellant can be useful in some places.
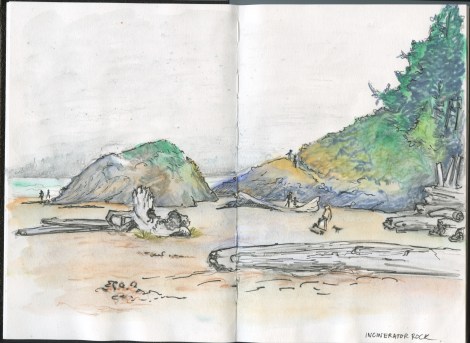
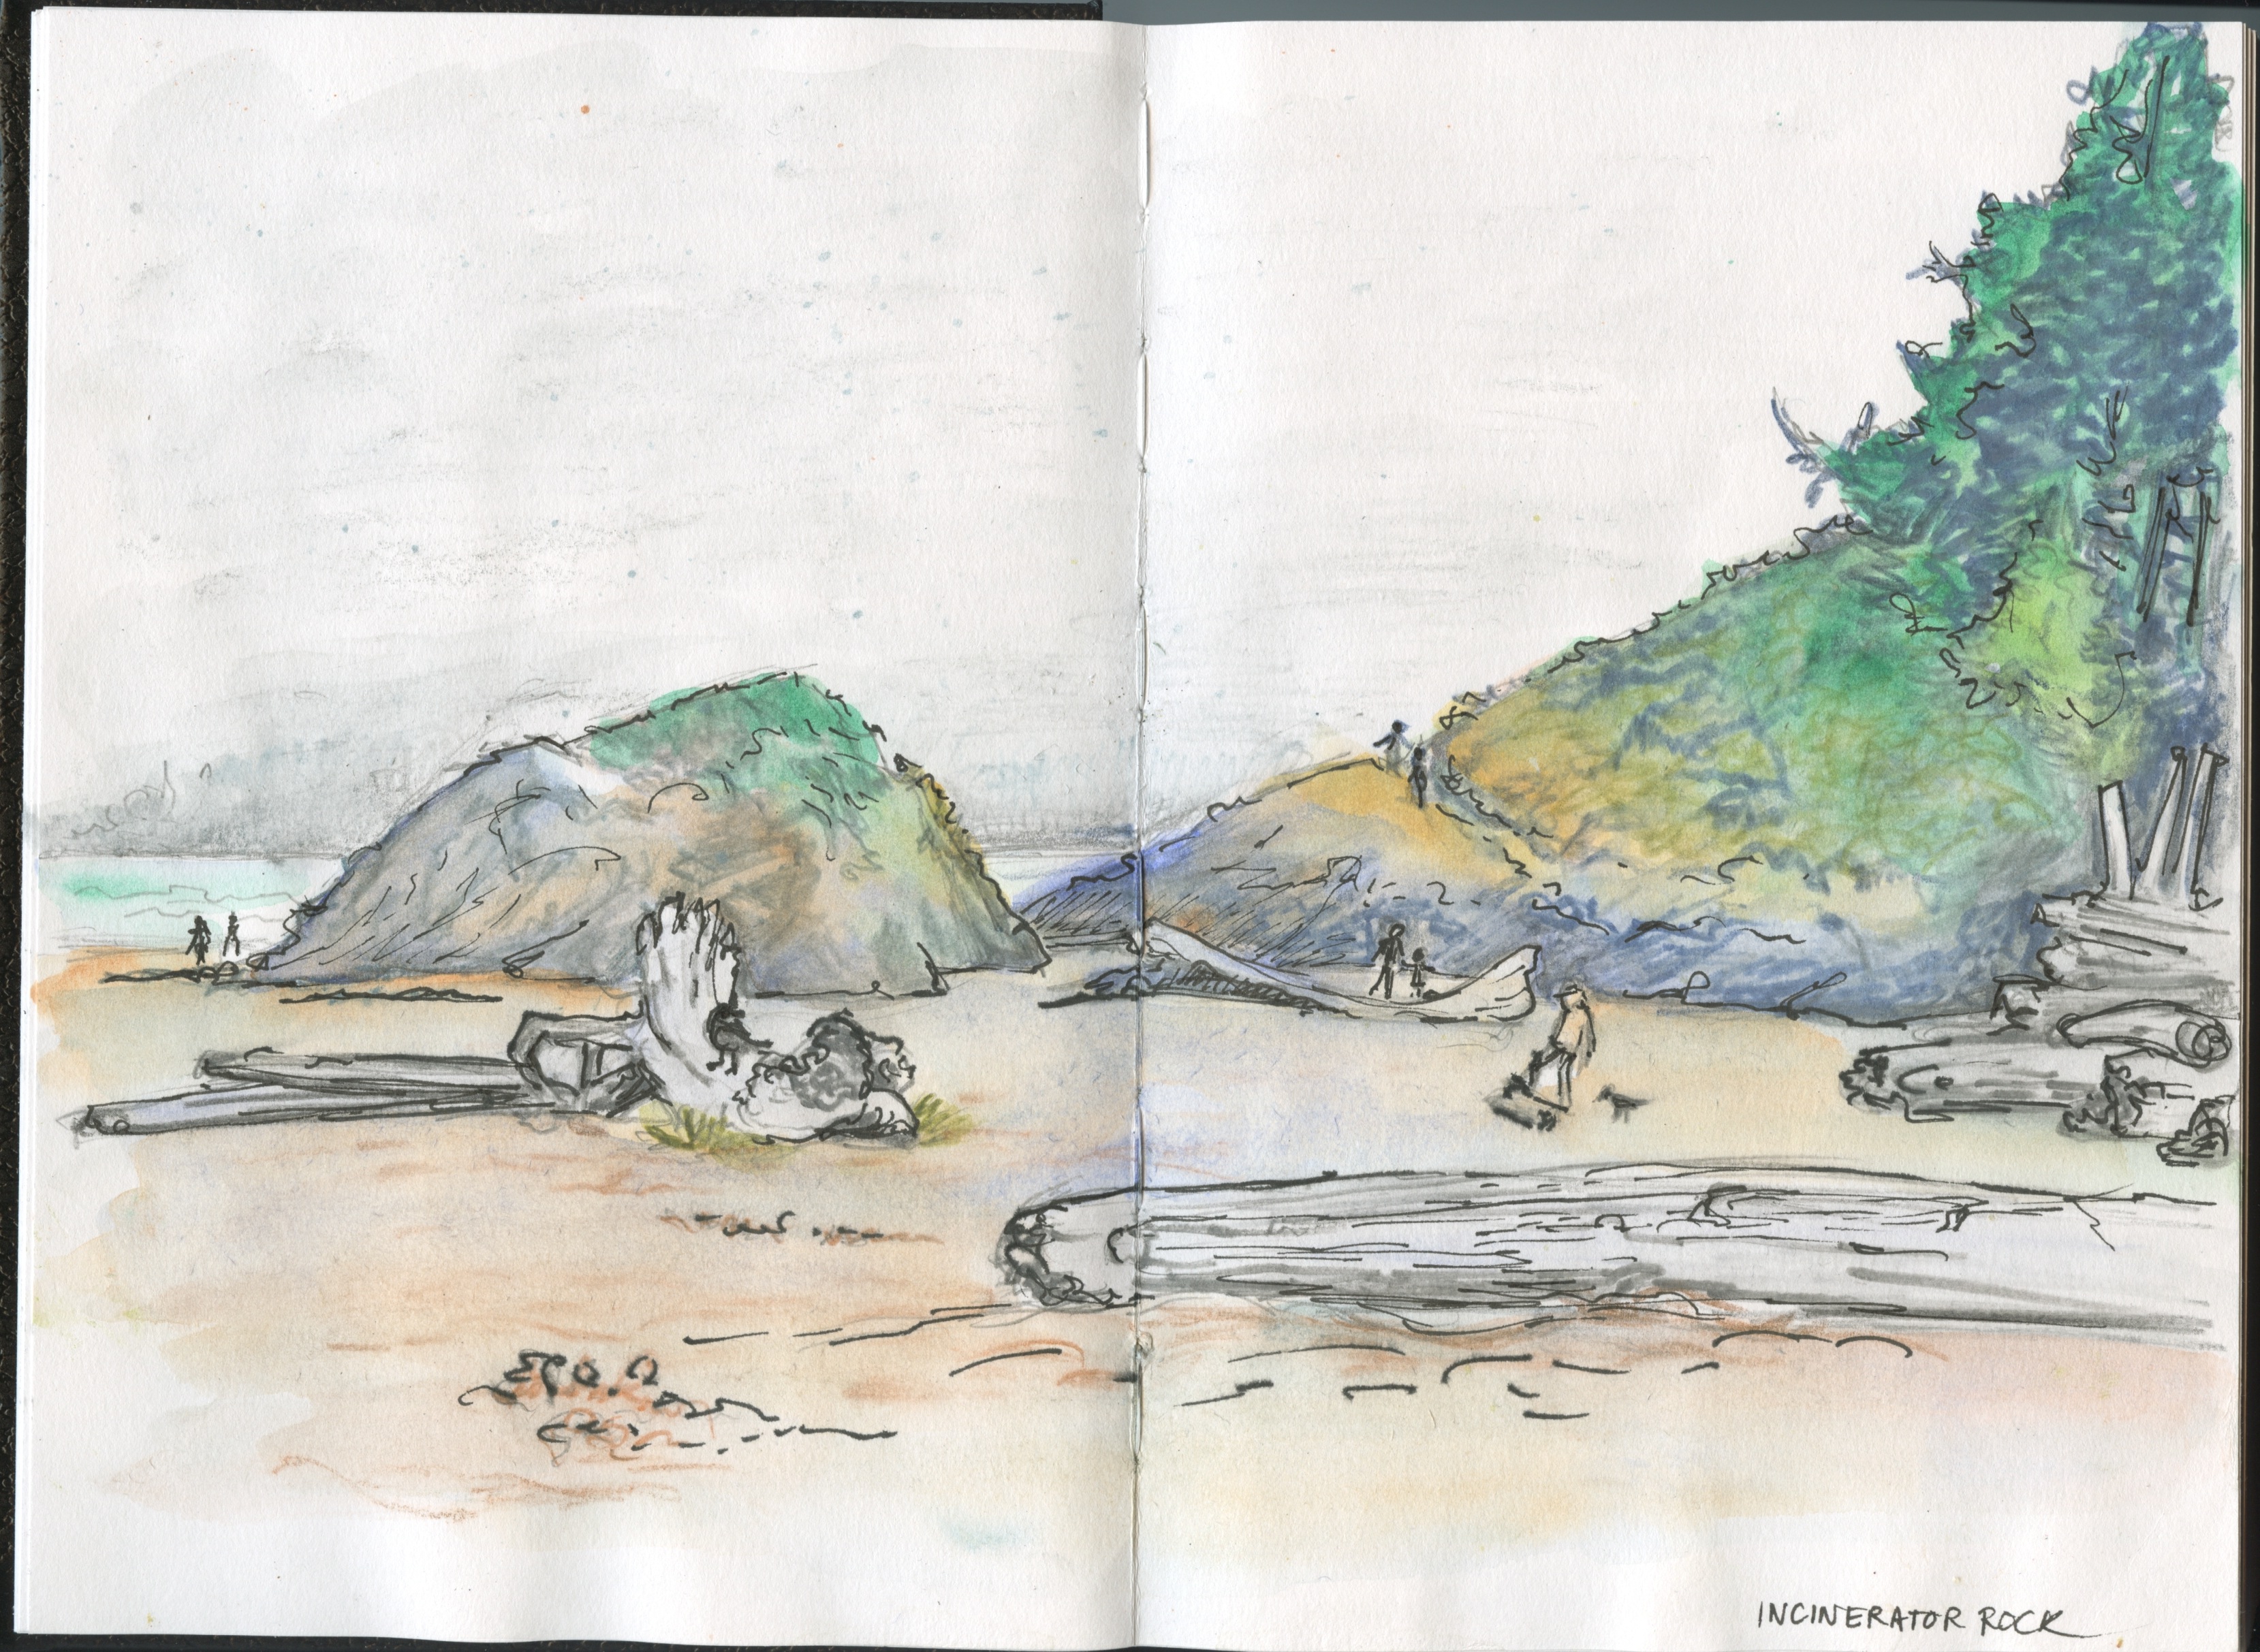
At Long Beach, Pacific Rim National Park, it’s almost never warm. I drew this while leaning up against a log while my companions napped in the thin sunlight filtering through the fog beside me. My own garb? About what I would wear for a mild winter day, except for my feet — I always like to go barefoot at the beach!
- Another issue to deal with when painting in public is, well, the public. Painting in pairs and groups will help hold off the curious, who can be very distracting (also it’s great fun to go painting with your friends!). Be friendly and say hi to passersby, but don’t feel obligated to strike up long conversations. Most people will respect your privacy, but occasionally you will get the ones who want to tell you all about their 3-year old prodigy of a nephew who can paint better than you can, or want to tell you that you’ve left out that ugly trash can over there. Ignore these.
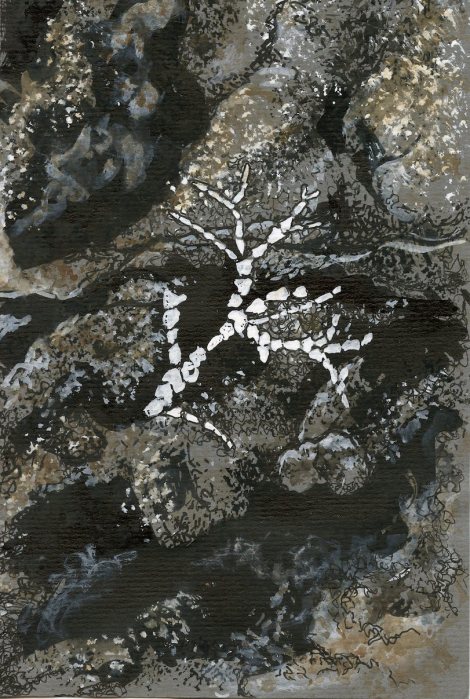
“Washed Ashore” — don’t forget that you can focus on little things outdoors too! This is a piece of coralline algae washed up on a granite rock. I didn’t actually paint this one onsite, but from a photo I took at the beach. It’s black and white inks with coloured pencils on grey-toned paper.
- Don’t expect masterpieces (as I mentioned, I certainly don’t!) — painting outdoors is much different than painting indoors, where you have total control over the light. Although landscapes hold pretty still, they can look different from moment to moment. Don’t worry about this, and don’t change things to follow the changing conditions. Just look at the scene as closely as you can, and you will remember the parts that catch your eye, and should therefore go into the picture. You can take photos from time to time as the light changes, and when you get back home to your studio (or kitchen table) you can use these and your sketch to create a more detailed painting. Using the information both from your observation and sketching, with support from the photos, you can create a far more dynamic painting than from photos alone.
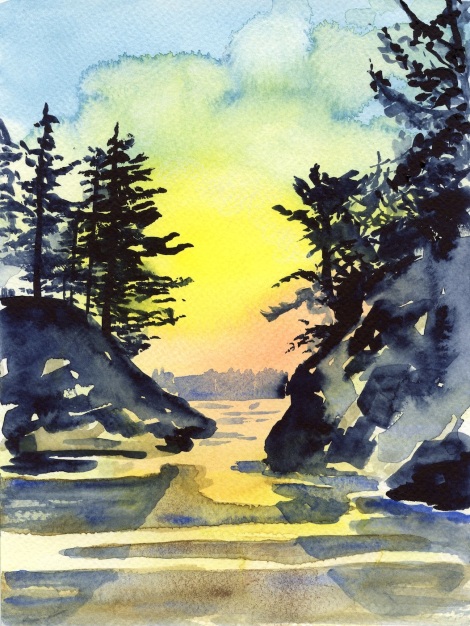
“Long Beach Sketch” — the backwashes created by dripping water into a wet wash created the clouds and the misty effects in the rocks on the right. Based on a photo taken an the same location as the sketchbook picture above, but different angle — from the other side of the rocks.
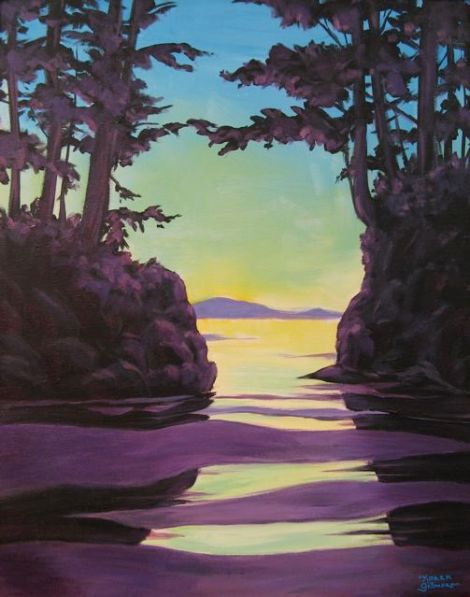
Long Beach Light — a studio painting in acrylic based on the sketch above.
- Bring snacks or a lunch. You can get surprisingly hungry just sitting outdoors and painting. And don’t forget drinks. If it is hot you will need twice as much liquid as you think you do. And if it is cold, I highly recommend bringing a thermos of hot tea or coffee, all ready with whatever you take in it. Don’t forget your travel mug!
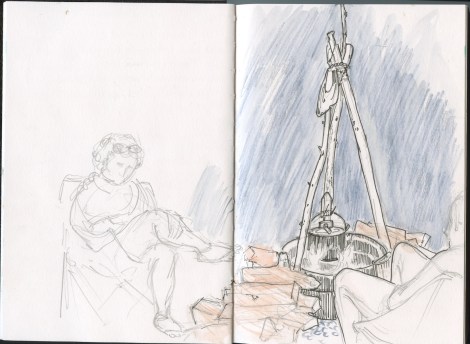
Getting warm after an outing. I like to go for a long camping/sketching trip at least once a year. Some days I don’t get anything done because it’s too much fun to lie on the beach and read a book or take long walks (though I do take LOTS of photos for later reference!) In the evenings, it’s great to come back to the campsite and a meal cooked over the campfire. You would think that everyone would be tired and sit still for me to draw after all that, but sometimes people don’t hold still long enough to finish!
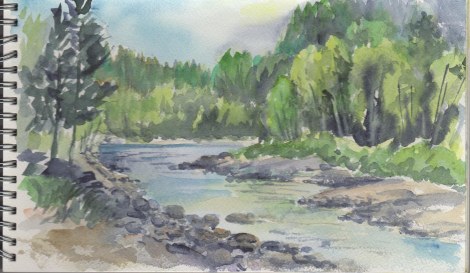
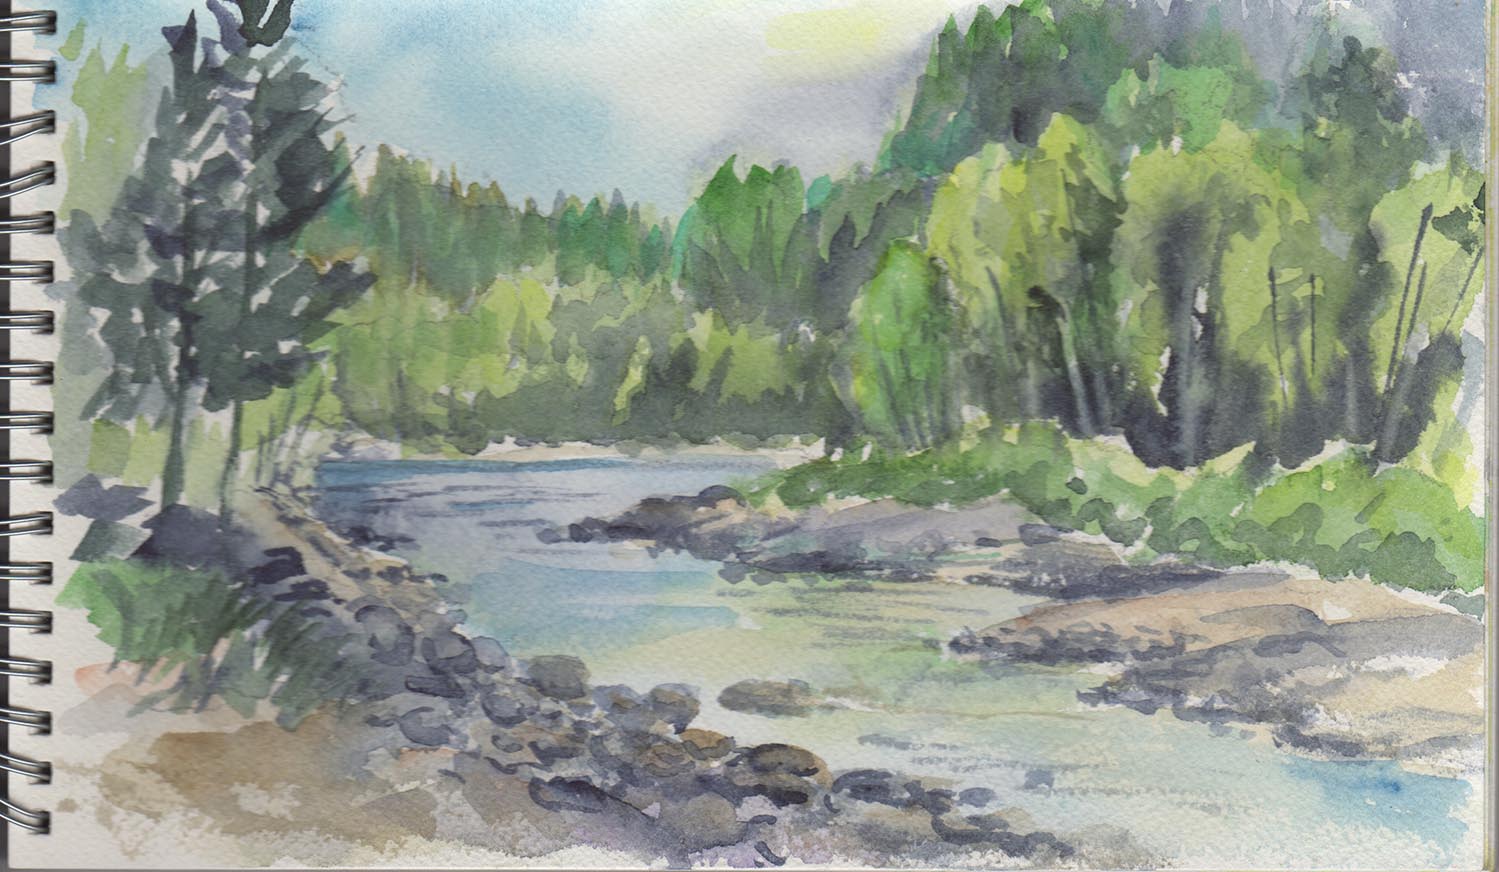
Similkameen River near Princeton BC — I was painting while having a picnic at our campground!

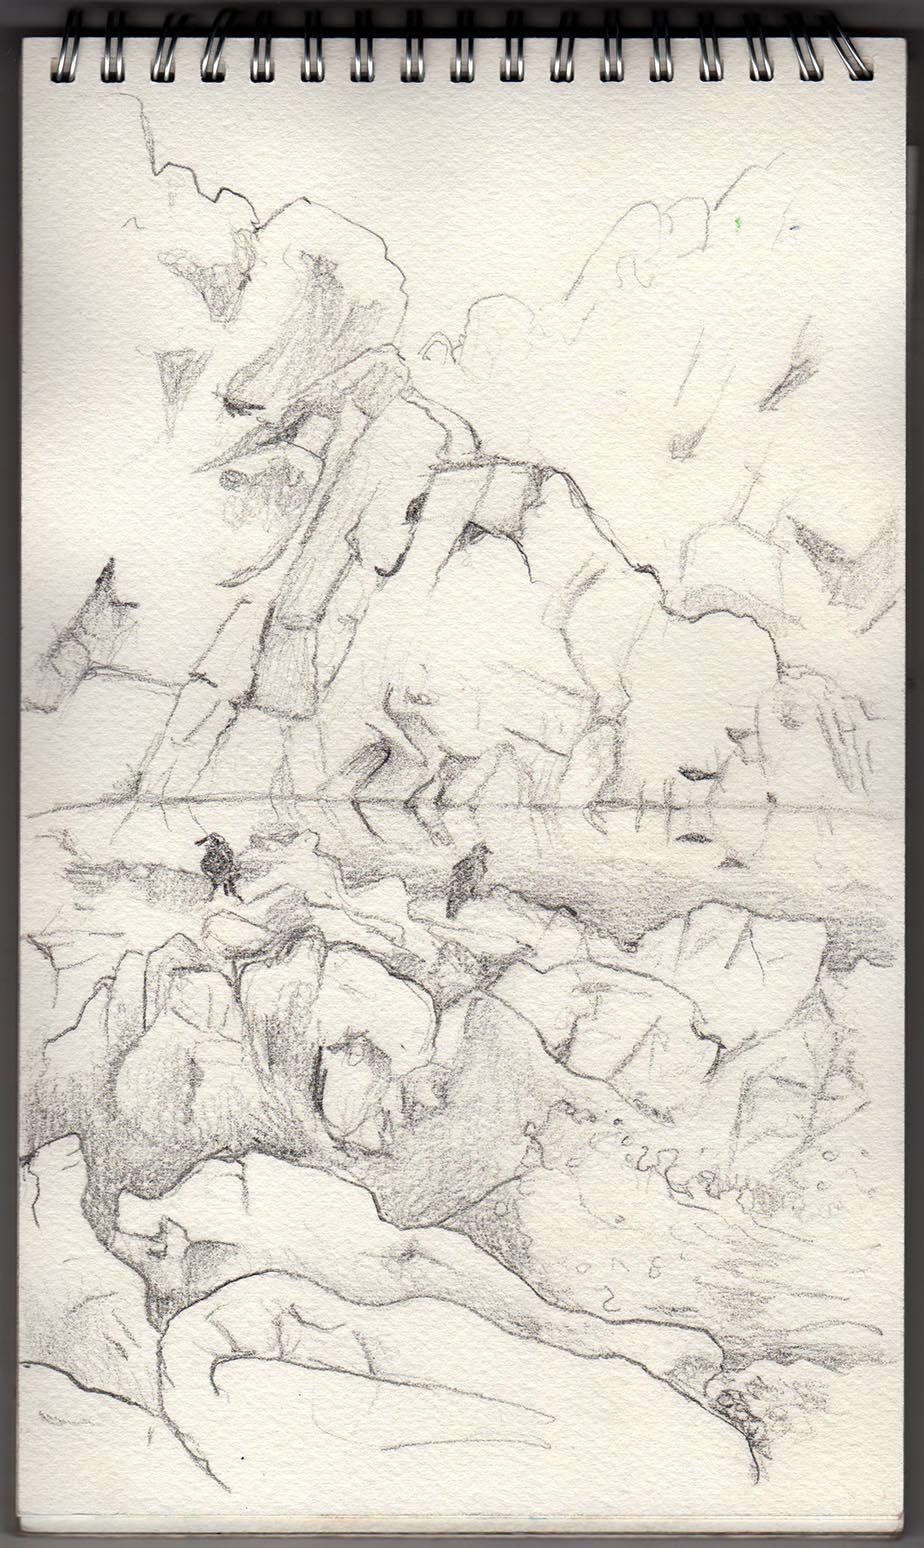
Rocks and Crows at Hot Springs Cove, BC — I was travelling VERY light here — only a graphite pencil , a sharpener, and my sketchbook. I knew we were going to have to hike for a few kilometres so I kept it minimal.
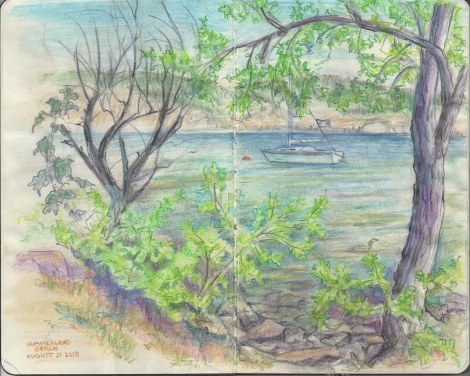
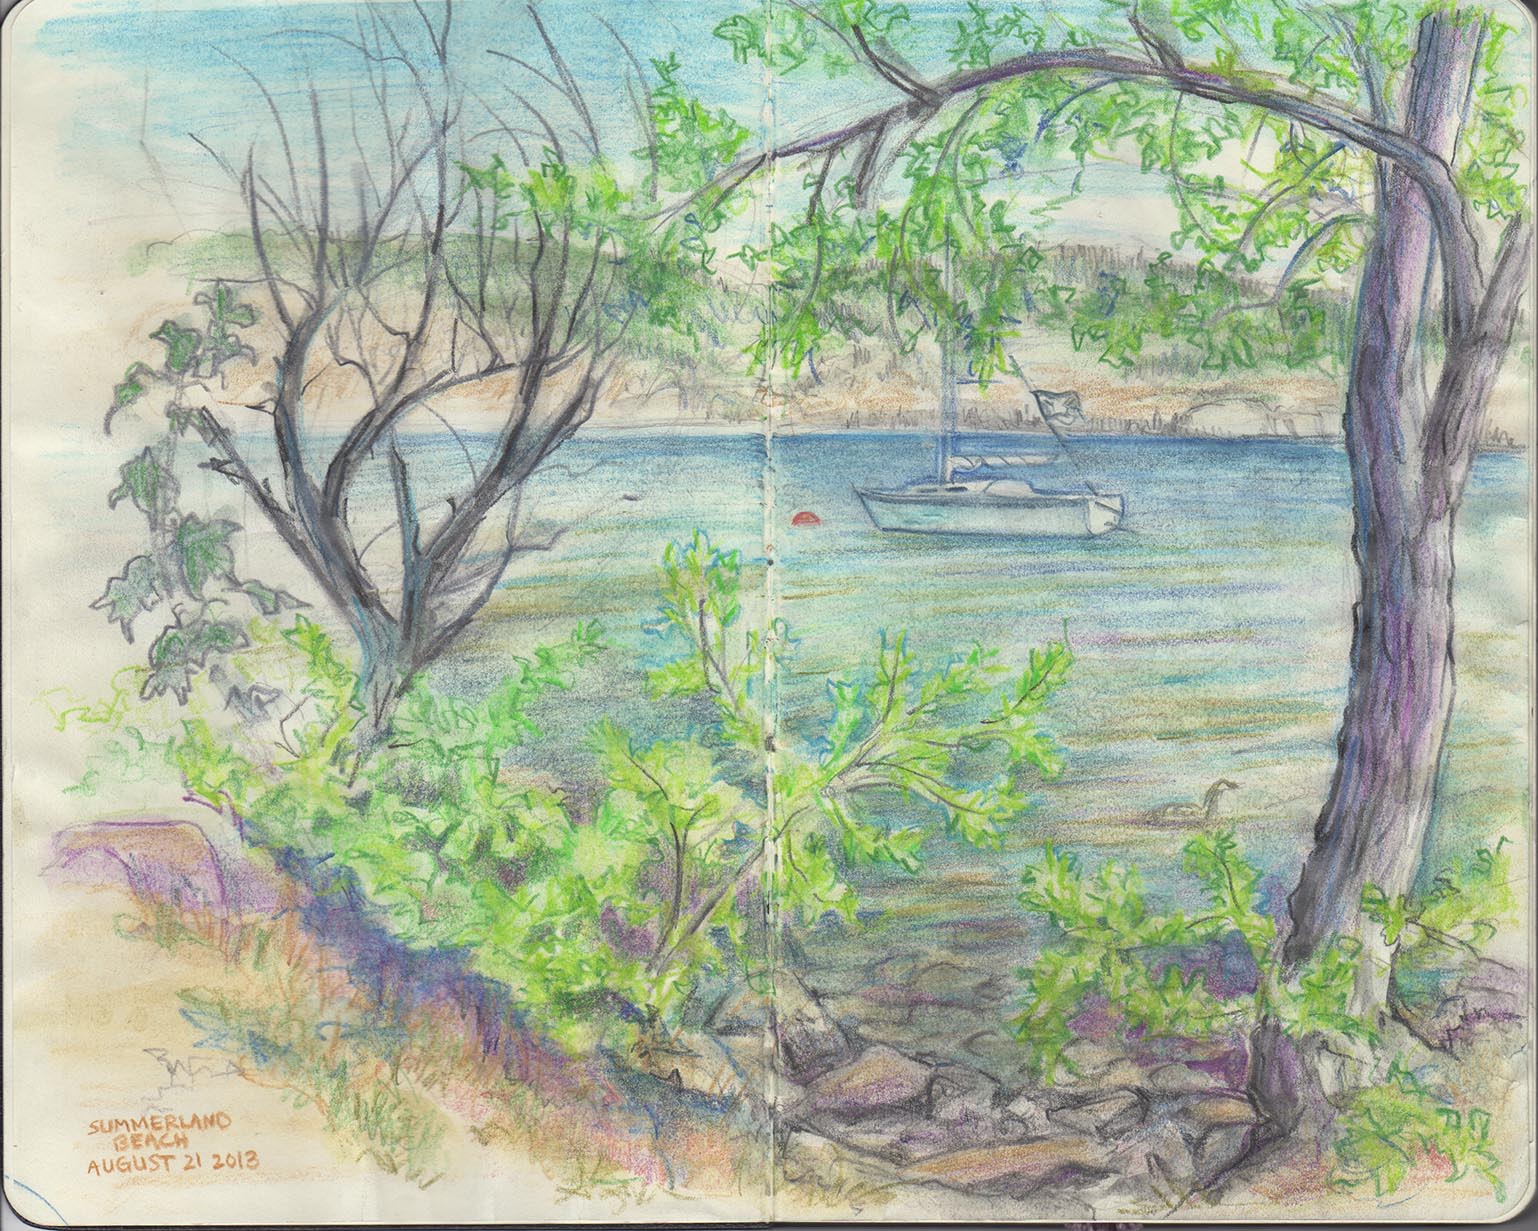
Last summer at Summerland Beach, BC (on Okanagan Lake) — I had the pleasure of spending the day with some artist friends, all of us painting. We went down the beach and got some HUGE orders of french fries, something I don’t usually indulge in!
One more thing: One of the most frustrating things for me is when I’m in a beautiful place that I want to sketch, but the folks I’m with aren’t artists, and they get impatient while I’m doing my thing. Sometimes it’s even hard to get as many photos as I want when people are trying to drag me off to the next tourist spot! So if you plan to go with other people, make sure they know that you want to spend time in one place, just grokking and painting. If they are not artists, they may want to bring a good book!


This post was great 411 for me, as I will be taking your plein-air challenge this season. I will be trying to sketch, not sure if I’m ready to paint. But paper, colored pencils and a HUGE eraser will be a great start for me. 😉
LikeLike
That’s great! (If you ever feel like taking a sketching trip out here to Victoria, let me know) My own challenge won’t start until after the convention in June, but I’ve already got several artist friends who want to go on a beach trip with me after I posted this on my Facebook page!
(If you are taking coloured pencils, a kneaded eraser is the best one to use, just press and lift rather than rub — and fun to play with in between drawings!)
LikeLike
Thanks for the extra tip!
LikeLike
You’re welcome — I think I forgot to mention that in the coloured pencils tutorial!
LikeLike